10 Extreme Sports Photography Tips with the Z 9
Capturing extreme sports is one of my passions and the Z 9 has been a game-changer in my work. Here are 10 tips for shooting better sports images and utilizing the amazing features of the Nikon Z 9 to do it!
Capturing the Action at 20 Frames Per Second
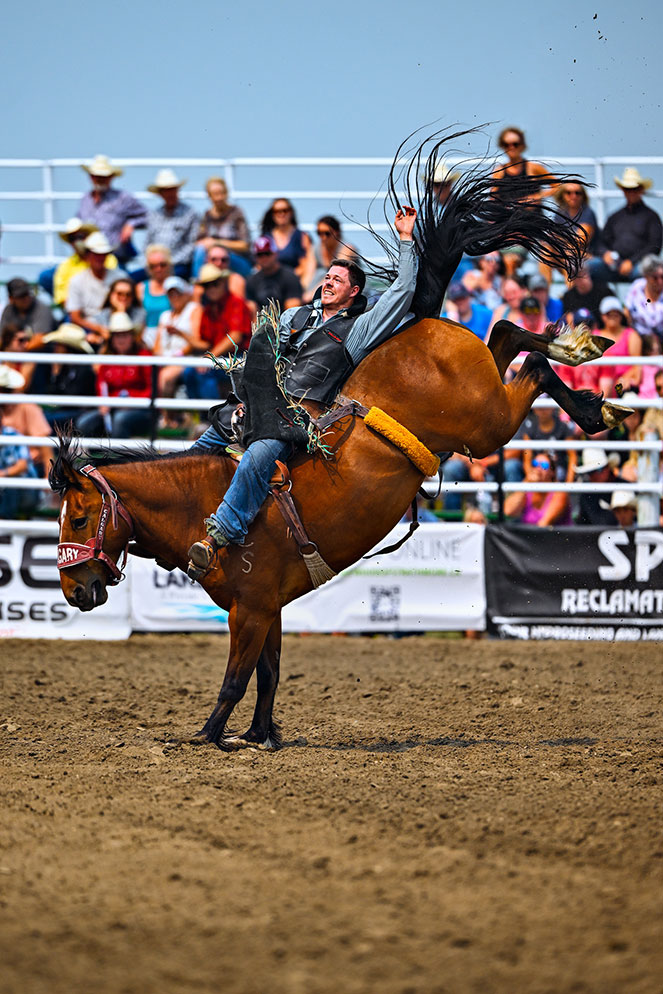
Nikon Z 9, FTZ Mount Adapter, AF-S NIKKOR Z 120-300mm f/2.8E FL ED SR VR lens, 1/4000 second, f/3.2, ISO 200.
Shooting at 20 frames per second (fpsf) can help you capture that sports moment at its peak energy and be the difference between a distracting element covering the athlete’s face or the perfect shot. The Z 9 can even shoot up to 120 fps at lower resolution in JPG. Keep in mind that you can dial back to 15 fps or slower for certain sports where you don’t need that kind of speed and want to give more time for camera to focus between frames.
TIP: Hold the Frame button and move the thumb-dial to change fps.
Get it Right, In-Camera with Picture Controls
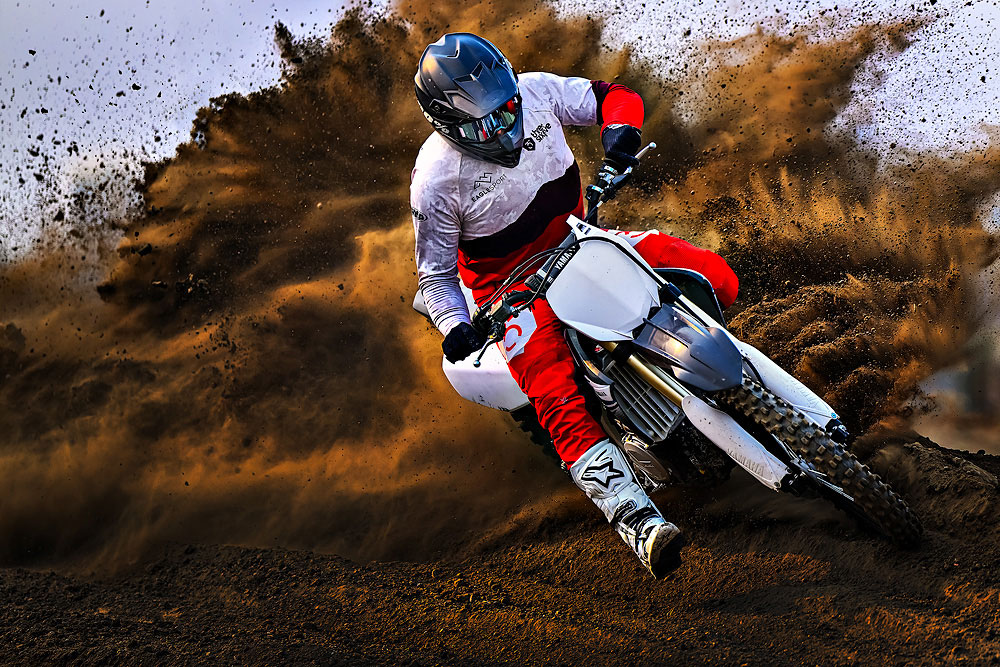
Nikon Z 9, FTZ Mount Adapter, AF-S NIKKOR Z 120-300mm f/2.8E FL ED SR VR lens, 1/5000 second, f/4, ISO 800.
PHOTO SHOOTING MENU > Set Picture Control
Picture controls are like choosing your film type, look and feel right in-camera. Sports photographers know the importance of getting amazing images right out of the camera so that they can send them off to media applications with minimal processing. To get great POP right out of the camera you can increase your saturation, contrast level, clarity, set custom sharpening options and choose from many base profiles within picture controls. In this motocross image, I went to the max on saturation and increased clarity within the STANDARD profile. You can also enhance your image in-camera by custom adjusting white balance and utilizing Active D-lighting.
Minimizing Camera Shake with VR and High ISO
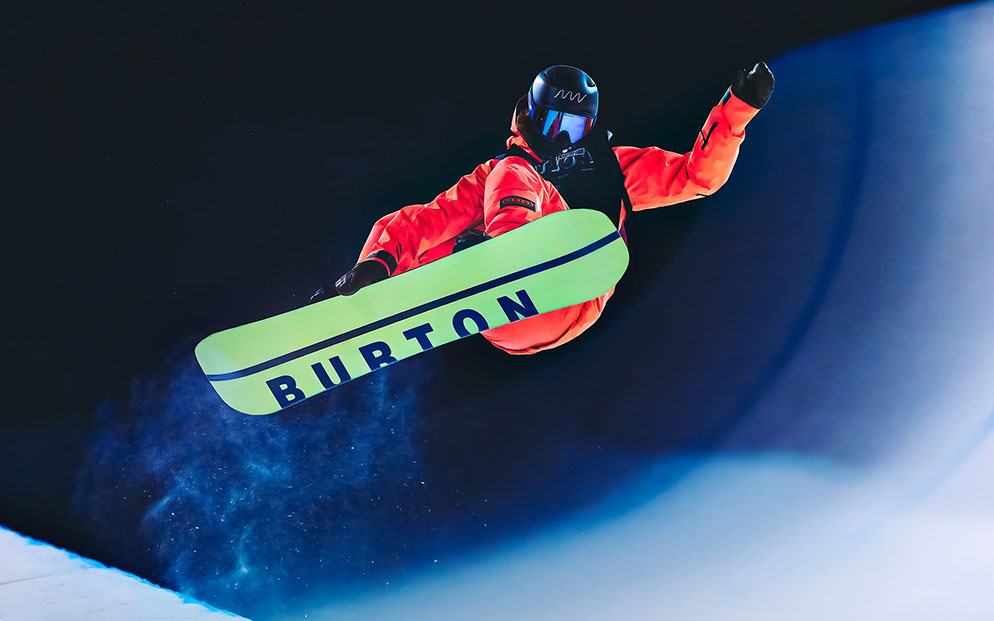
Nikon Z 9, NIKKOR Z 70-200mm f/2.8 VR S lens, 1/1600 second, f/2.8, ISO 3200.
This snowboard halfpipe image was taken at night under inconsistent lights in -20 degree weather and I was wearing crampons on the icy wall of a halfpipe. The Z 9 has 5-axis image stabilization giving up to 6 stops of Vibration Reduction image stabilization and fantastic High ISO capabilities allowing you to get crisp sharp images without camera shake like I did here even in a difficult shooting situation.
TIP: You can set the VR to Normal, Sport or Off. I recommend under most situations leaving it ON and trying out both Normal and Sport settings. The Sport setting is designed to be used when you are photographing from a moving vehicle.
Choosing the Right Shutter Speed and Shooting Mode
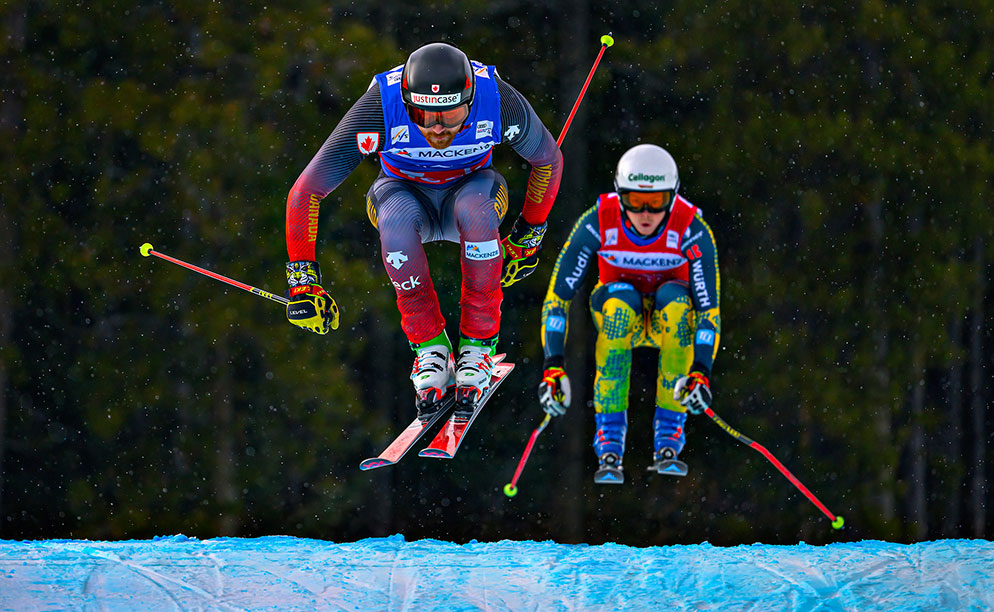
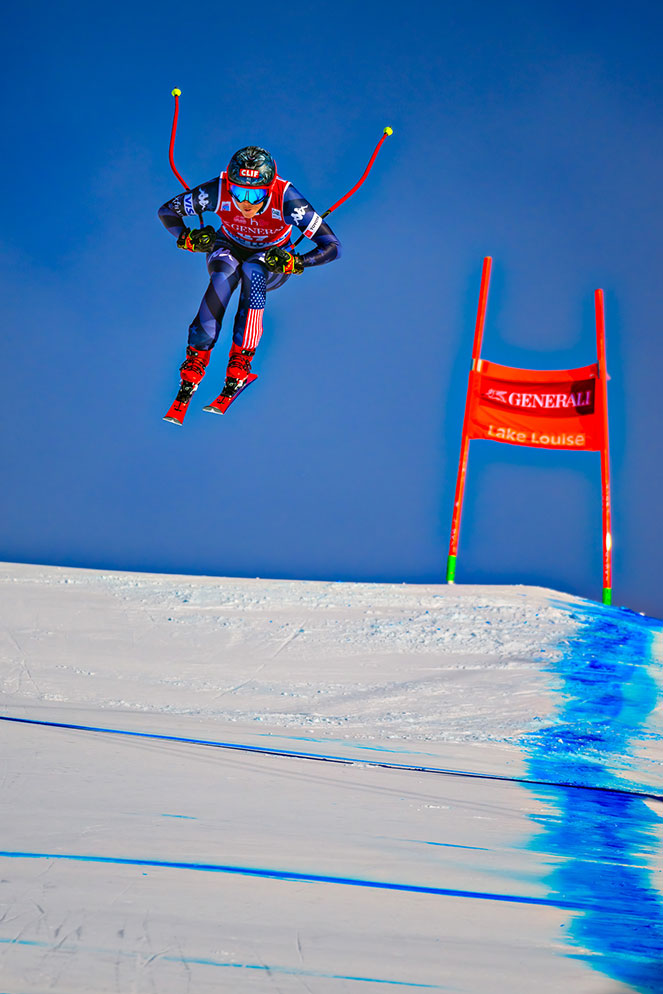
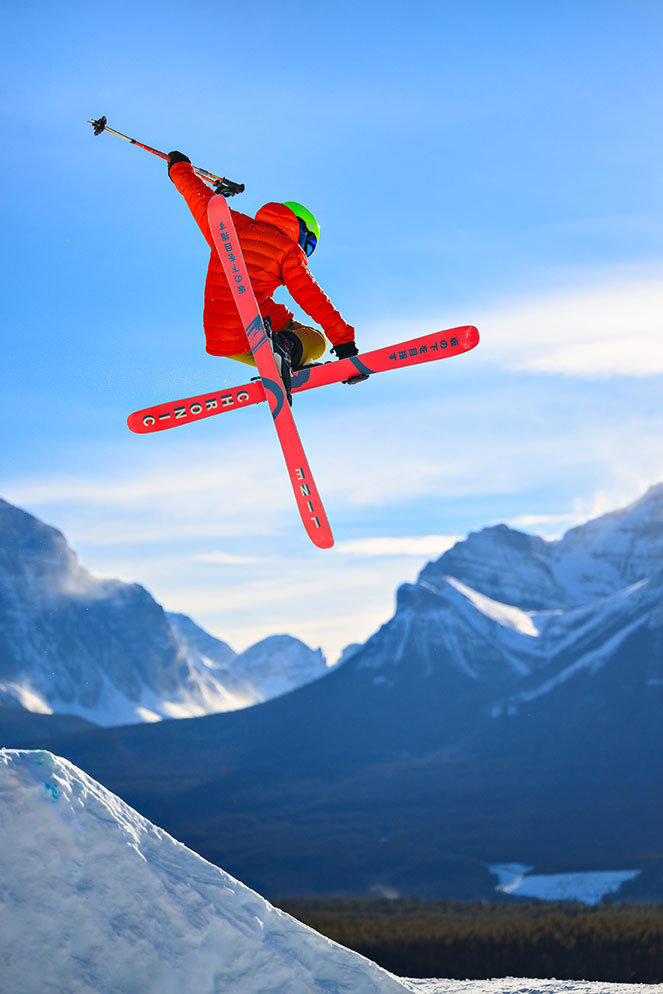
Nikon Z 9, NIKKOR Z 800mm f/6.3 VR S lens, 1/5000 second, f/7.1, ISO 640.
When capturing high speed action the right shutter speed is critical. Capturing a world cup downhill skier in flight is no easy task, especially with an 800mm as you are blind until she goes off the jump and comes into frame. To capture her I was shooting at 1/5000 second. If you want to freeze the motion 1/2000 second is a good starting shutter speed for most sports. I personally like to shoot in manual exposure under most circumstances. But some photographers might also like Auto-ISO, which utilizes the camera metering system and which I prefer over shutter speed priority. With the Auto-ISO turned on, set your desired aperture and shutter speed and let the ISO change based on the meter's information to get the correct exposure. You can use exposure compensation to make quick tweaks to exposure.
TIP: You can hold the ISO button and move the finger-wheel to toggle in and out of Auto-ISO from manual exposure mode.
Sharp, Precise Autofocus
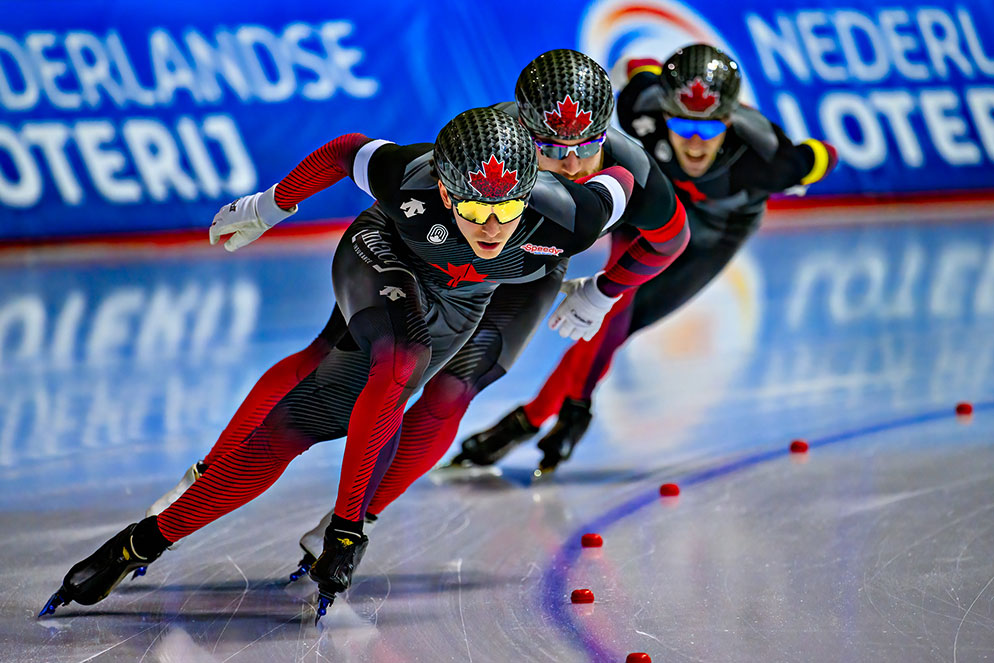
Nikon Z 9, NIKKOR Z 400mm f/4.5 VR S lens, 1/1600 second, f/4.5, ISO 4000.
[FOCUS MODE BUTTON and Finger or Thumb-Dial to quick change focus mode options]
Sharp focus on the eyes of your athlete can draw you into a great image. The Z 9 camera's autofocus is based on deep learning technology which has simply changed the game. My favourite modes, depending on the subject, are [Wide-area AF (L) or (S) or (C1/C2)] to pre-compose where the subject is in your image or [3D-Tracking] when you want to lock on and just follow freely, adjusting position in the frame on the fly. AF Subject Detection can be set to Auto, People, Animal or Vehicle. The autofocus adjusts focus as it identifies the subjects and locks on. If the camera isn't able to identify the subject because of distracting elements in your scene you can use [Single Point AF] or [Dynamic-area AF]. Also set your camera to AF-C so you don’t miss a shot.
TIP: Add CUSTOM SETTINGS MENU > [a3] Focus Tracking with lock-on to your MY MENU, so that you can adjust the Steady or Erratic subject motion and Blocked shot AF response depending on subject.
Optimizing Your Viewfinder and Experience of Photography
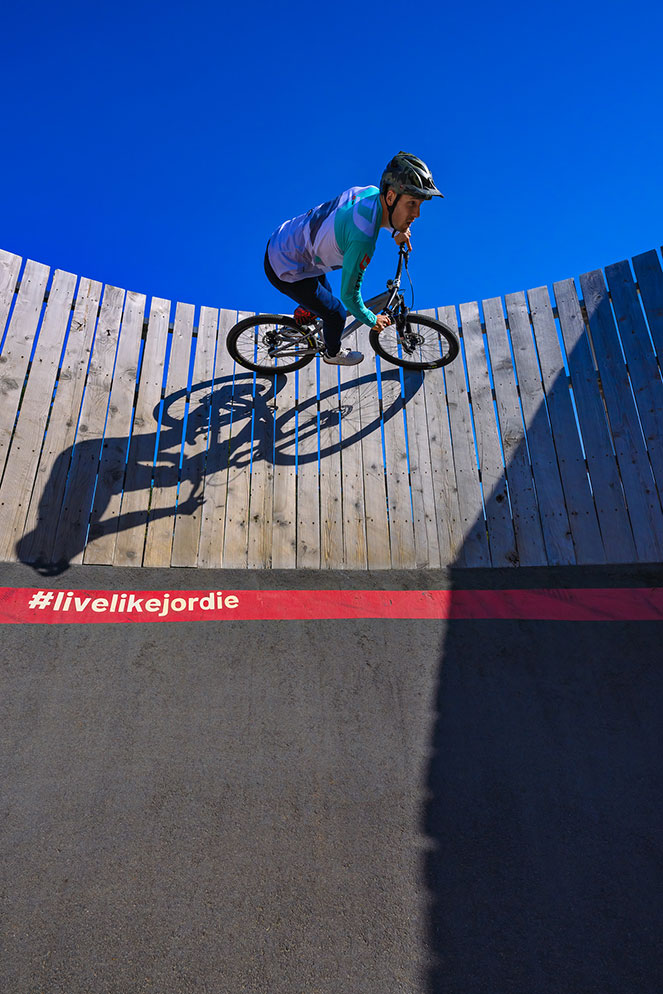
Nikon Z 9, NIKKOR Z 14-24mm f/2.8 S lens, 1/6400 second, f/5.6, ISO 800.
CUSTOM SETTINGS MENU > [d21] High fps viewfinder display
With the Z 9’s Dual Stream Technology it feels like an optical viewfinder and you don’t miss a moment. With the latest firmware there is a High fps viewfinder display option which has a 120 fps refresh rate that looks amazing.
Customizing your heads-up display overlay changes your experience of photographing with the Z 9. You can set virtual horizon, histogram, grid, and more. For an image like this where panning with a wide-angle lens and trying to keep a perfectly level horizon line, I leave virtual horizon overlay on and it helps guide me. Push the [Disp] button to toggle through overlays quickly. Adjusting your Viewfinder and Display Brightness can also be helpful in bright outdoor locations.
Freezing the Action with Flash
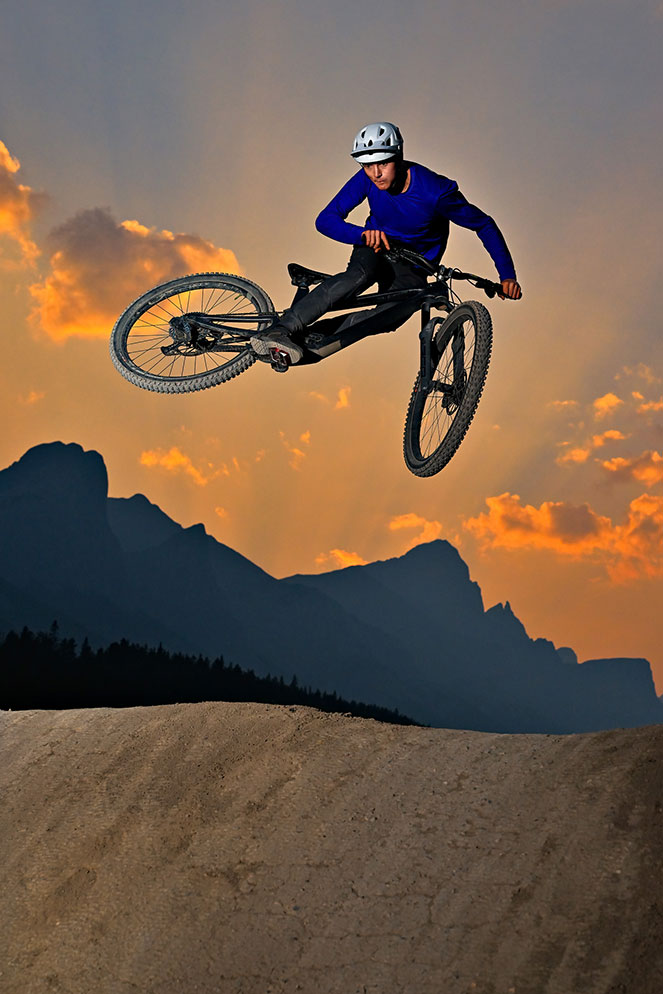
Nikon Z 9, NIKKOR Z 24-70mm f/2.8 S lens, 1/3200 second, f/5.6, ISO 640.
CUSTOM SETTINGS MENU > [e1] Flash Sync Speed – 1/250 second (Auto FP)
I love to use flash to freeze the action like I did here with this mountain biker. I exposed for the available light in the background and lit the subject with controlled flash output. Make sure to set flash sync speed to 1/250 second (Auto FP) if you're using a Nikon Speedlight or other HSS (High Speed Sync) capable flash. If you are using Nikon Speedlights and the wireless adapter, you can control your remote flashes and output level from the camera to adjust off camera flash at a distance.
Customizing Your Z 9 for Efficiency
Nikon Z 9, Mount Adapter FTZ, AF-S NIKKOR 500mm f/5.6E PF ED VR lens, 1/4000 second, f/5.6, ISO 100.
PHOTO SHOOTING MENU > RAW Recording > High Efficiency (Star)
I always photograph in RAW and being able to capture 45 megapixel images at 20 fps can fill up your memory cards fast. The new High Efficiency (star) significantly reduces the file size of the images. In fact, using the High Efficiency (Star) setting, the files are less than half the size without any noticeable loss in quality.
The Z 9 is like a computer with incredible customization options to help you speed up your navigation when it counts most. I recommend setting up custom function buttons on your camera body and lenses, adding heavily used functions to your MY MENU, creating groups for your settings in Shooting Menu Bank and customizing your [i] Menu with the options you access the most.
Evaluating for Perfect Exposure and Highlight Detail
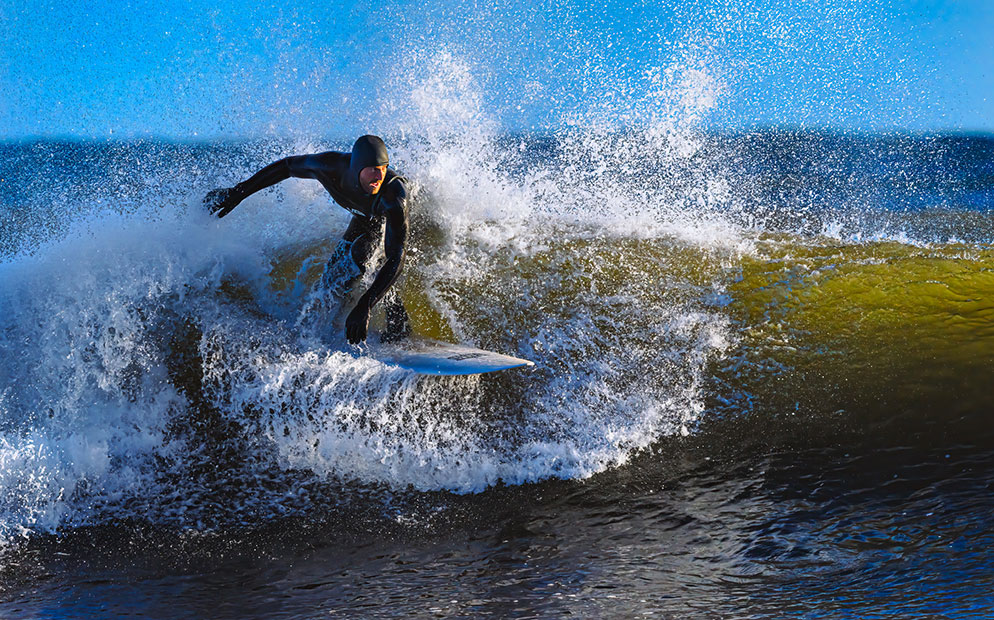
Nikon Z 9, Mount Adapter FTZ, AF-S NIKKOR 500mm f/5.6E PF ED VR lens with TC 1.4X Teleconverter, 1/4000 second, f/8, ISO 1600.
PLAYBACK MENU > Playback display Options > Check Highlights, RGB Histogram, Overview, None (picture only), Focus Point and Shooting Data.
In the field it is important to check your settings. I like to review my images with the [PLAYBACK] button and show the Highlights or toggle through other options. When you have snow or water like this surfer image, look for specular highlights flashing as out of gamut, but ensure that the body of snow or water has detail and is not flashing.
Shoot Some Video
Nikon Z 9, NIKKOR Z 70-200mm f/2.8 VR S lens, 1/5000 second, f/2.8, ISO 100.
The Z 9 captures incredible video! With the flick of your photo/video switch you can change your storytelling mode. The VR (Vibration Reduction) on the sensor is so good that your footage will look fairly steady, even without a tripod. The 4K/120p setting is my favourite for shooting sports. You can quick switch to DX crop mode which lets you crop 1.5x into your subject, or set the 2.5x crop for video, which is Full Pixel Readout and then down converted. That can really extend the range of your lens and get you some amazing footage.

