How to Photograph the Milky Way
One of the most impressive sights in the night sky for those who view it for the first time is the Milky Way. If you’re in a location with little to no light pollution, a sky filled with stars as far as the eye can see and the Milky Way, well it's a sight that just has to be seen to be appreciated.
We spoke with Diana Robinson, a nature and wildlife photographer who frequently spends her evenings photographing celestial objects in the night sky. She has taken photographs of the Milky Way throughout the year, and from locations across the country.
For night sky and Milky Way photography, Diana’s go-to cameras are the D850 and D5 with the 14-24mm lens zoomed out to 14mm. Because exposures are going to be made at around 20 – 25 seconds in length, the camera needs to be on a steady tripod. To keep the camera steady and not induce any shake, Diana uses a wireless remote shutter release to trigger the shutter. She also uses a red headlamp to keep her night vision while shooting.
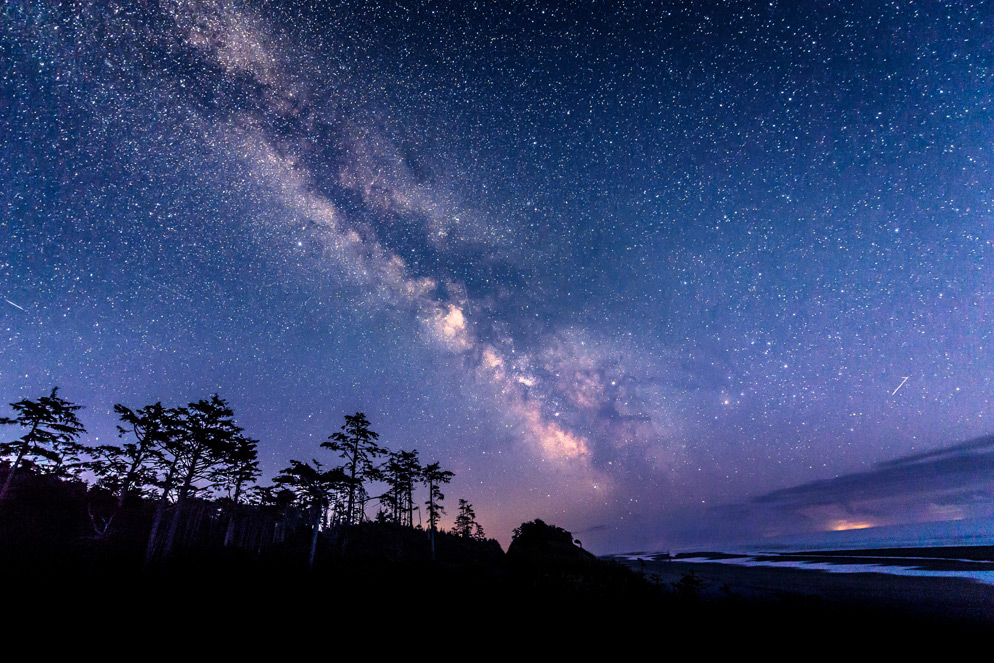
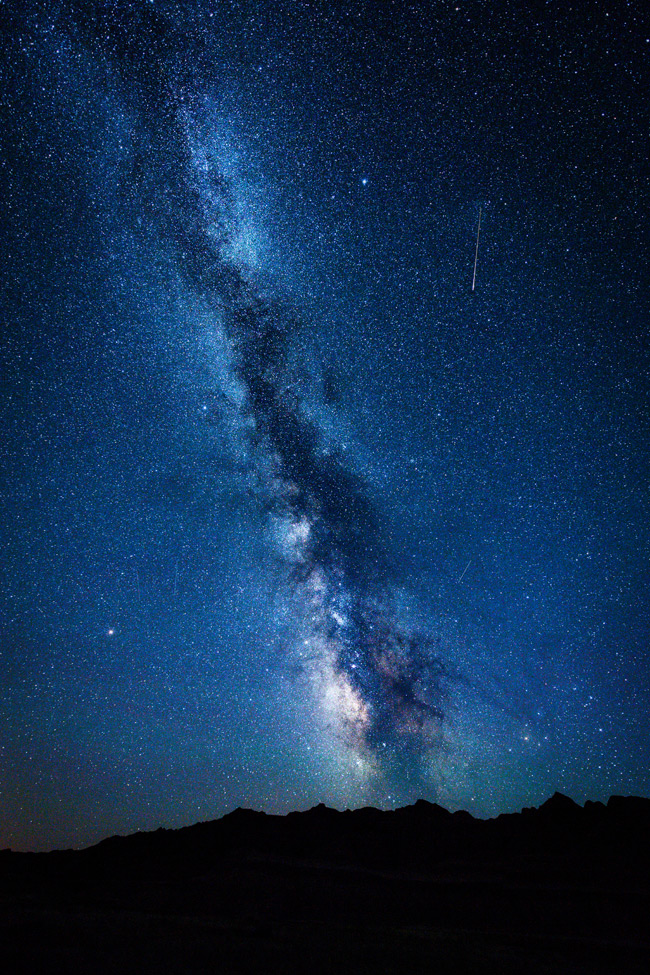
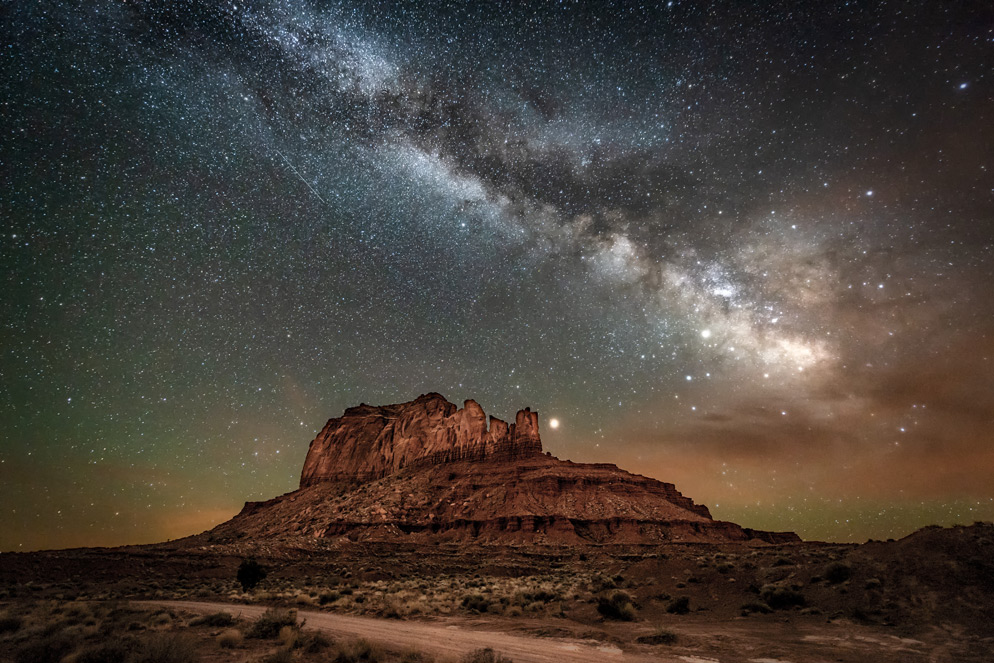
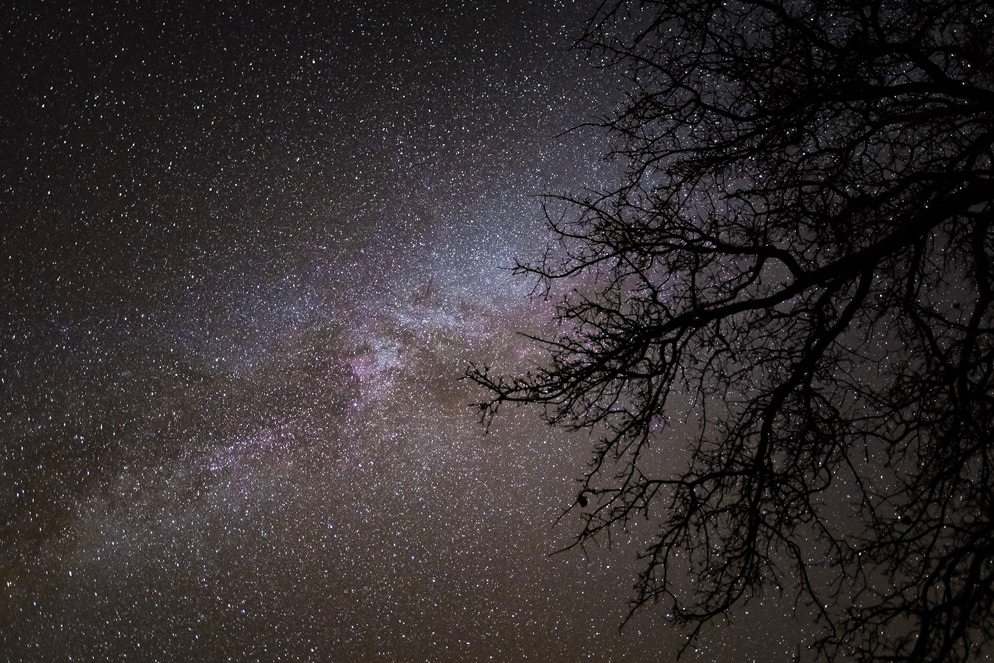
The Milky Way and meteors at Toadstool Geological Park in Northwestern Nebraska. D5, AF-S NIKKOR 14-24mm f/2.8G ED, 15 seconds, f/2.8, ISO 4000, manual exposure, Matrix metering.
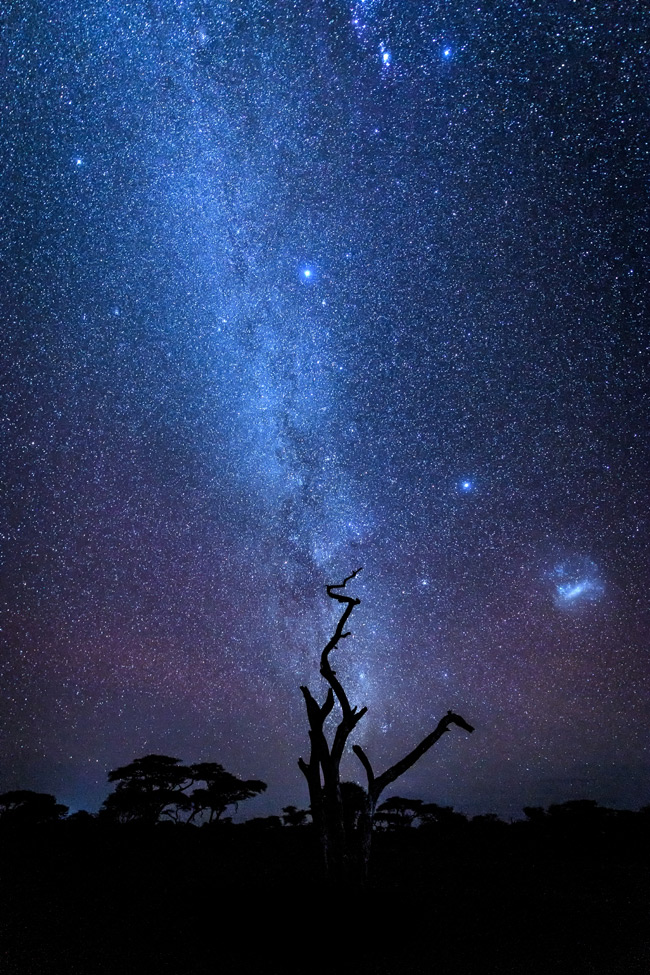
Southern hemisphere night sky with the Milky Way and the fantastic Magellanic Galaxy clouds, Tanzania. D5, AF-S NIKKOR 14-24mm f/2.8G ED, 20 seconds, f/2.8, ISO 4000, manual exposure, Matrix metering.
Exposures
Diana suggests using a basic starting exposure and experimenting from there for the ideal exposure. “I use manual mode, f/2.8, 20 seconds, ISO 4000, white balance of 4000°K. I experiment depending on the darkness, [by] changing the ISO to 3200 and shutter speed to 25 seconds,” Diana explains. She suggests keeping the shutter speed below 25 seconds, otherwise the stars may start to blur.
For focus, Diana uses Live View, zoomed in on a bright star or Jupiter. “I turn the focus back and forth until the star pops. It takes a little practice but once you get it you have it,” she says, adding, “I always lock down the focus with gaffer tape and make sure that I’ve turned off the autofocus.”
If you’re including the foreground in the frame, so long as any foreground objects are more than 10 or so feet from the camera, even at f/2.8 the focus will be fine if you’re focused on stars, a planet or infinity. Closer than 10 feet, Diana suggests taking a second image with the foreground exposure correct and compositing them.
When including the landscape in the foreground, Diana will make a second exposure of about 5 minutes in length at f/2.8, ISO 2000, 4000°K white balance, with long exposure noise reduction turned on, for a well exposed foreground that will blend nicely with the night sky or Milky Way above.
Whether to shoot RAW (Nikon NEF) or JPEG files comes down to whether you normally shoot RAW or JPEG. Shooting RAW lends itself to easier color correction of white balance or overall image color/hue if the Milky Way itself is way off in hte original image capture.
And while most photographers strive to get the color of the Milky Way in the night sky correct, sometimes, artistic demands win out.
Diana normally tries to get the white balance correct in the camera. “Although you can easily change the color, it is nice to see the image you want on the LCD screen as you’re shooting in the field,” she says.
Milky Way Photography Tips
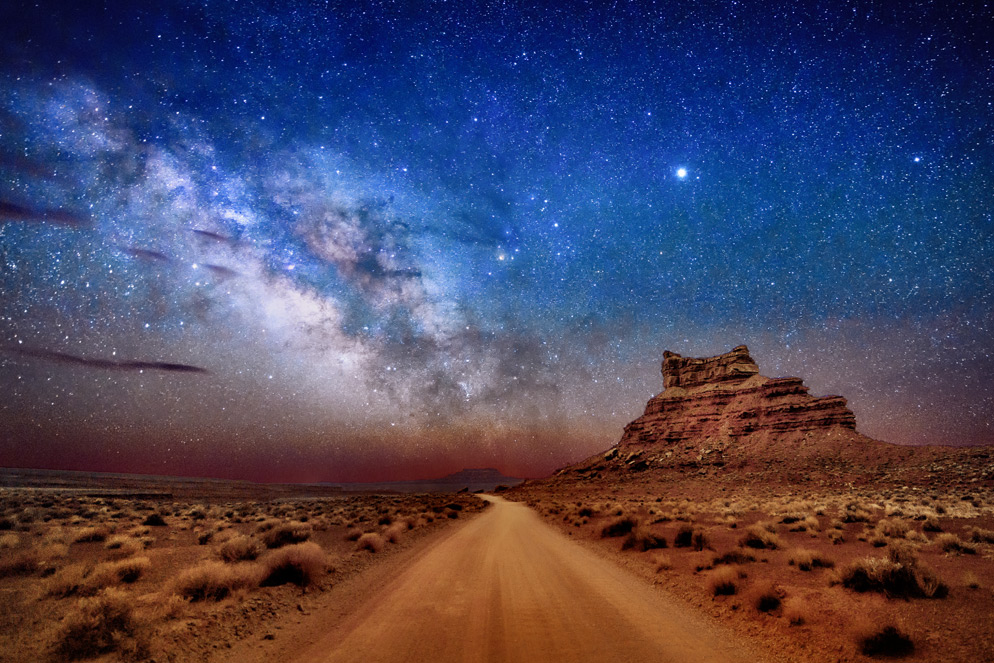
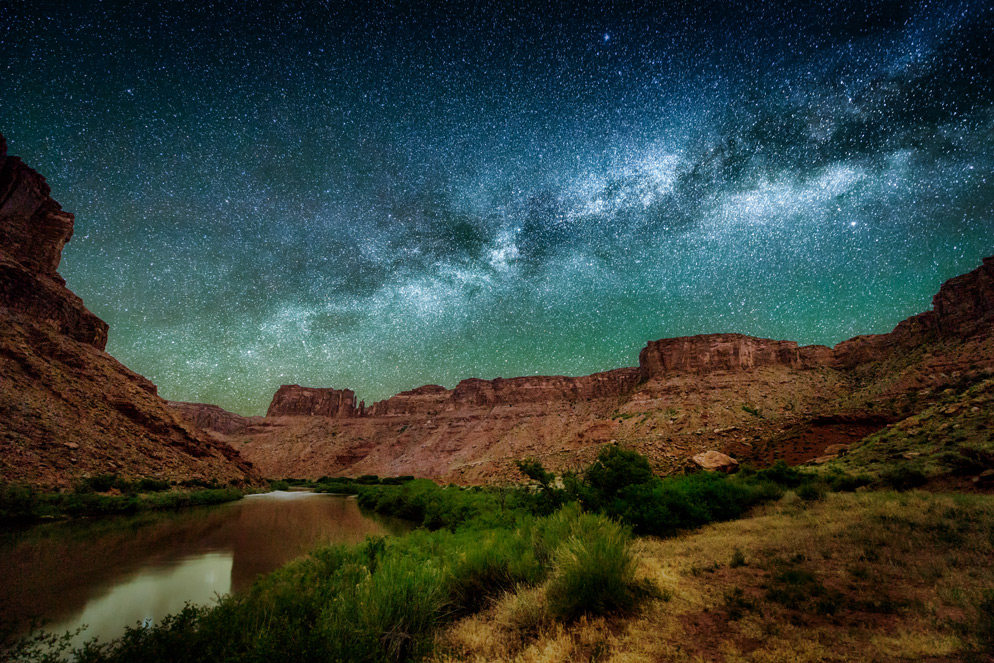
Diana says her favorite places to photograph are in the western USA. “I always look for dark skies and tend to prefer the west. I like to shoot where there are interesting foreground objects. I like northern Nebraska a lot because the skies are very dark and there are interesting sandhills and old barns, etc. I like to shoot in Utah, especially near Bluff, Utah, Valley of the Gods and Badlands. I like Canyonlands National Park near Moab, Utah and Bisti Wilderness Area in New Mexico,” she explains.
Clear skies are ideal. “As long as there aren’t too many clouds and not too much wind I’m happy to shoot at night. Sometimes the clouds can actually enhance the sky as it did recently for me in Monument Valley,” Diana says.
Smartphone apps can be your night sky photography friend. Diana says, “I rely on Photo Pills, especially the Night AR which shows you the path of the Milky Way at any date and time. I also use weather apps with radar to check for cloudiness. I use the Sky Guide app to locate specific constellations, stars, comets, satellites and meteor showers. The Dark Skies app is great for calculating the maximum exposure on any camera and lens without blurring the stars. I also use satellite-tracking websites: Satellite Flybys, ISS Tracker and Heavens Above.”
Foreground Lightpainting
We also checked in with Tony Krup, a Nikon technical sales rep. who has done quite a bit of astrophotography himself. We asked Tony to share some of his favorite shots of the Milky Way.
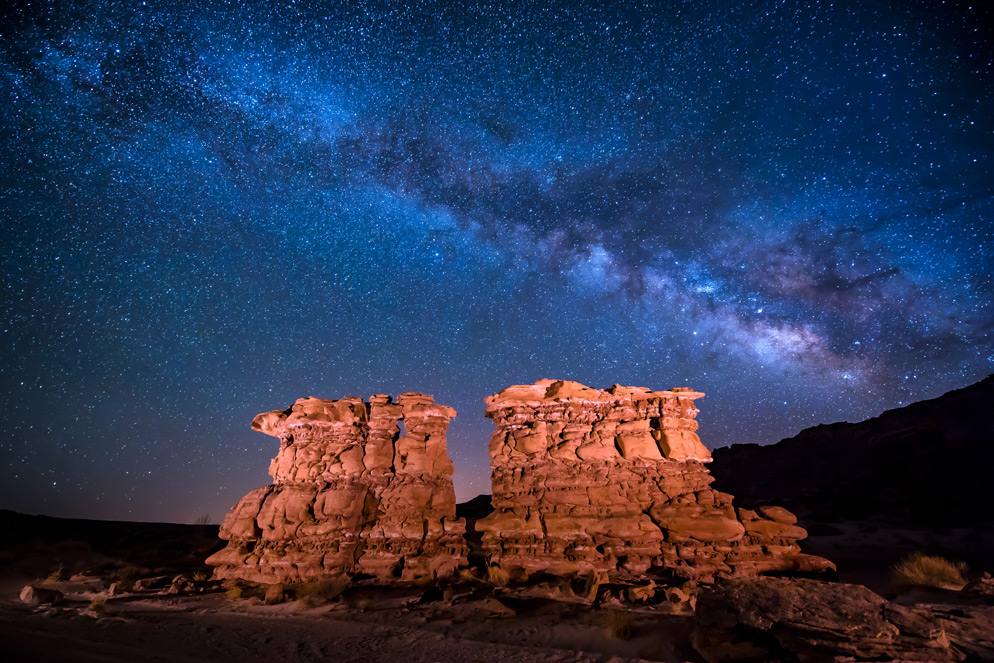
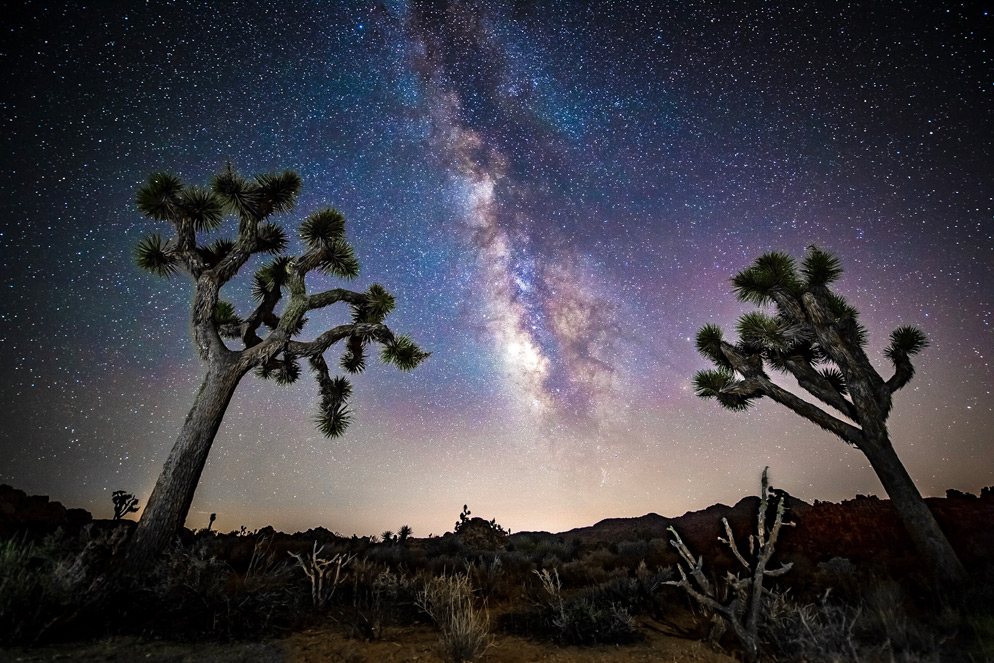
Tony often uses the technique of lightpainting in his images of the Milky Way, using either a flashlight or the flashlight app in his smartphone to illuminate the foreground trees and scrub brush.
Lightpainting can be done with a constant light source or with a Speedlight flash.
With a constant light, like a flashlight, while the shutter is open, illuminate the foreground by continuously moving the light around during the entire exposure. Keep the light moving so you don’t end up with hot spots in one particular area.
To lightpaint using a Speedlight flash, simply hold the Speedlight unit and press the flash button to "pop" light into the scene, moving it around as you would with a flashlight so you don't cause hot spots.
For an even more unique look, you can place colored gels over the Speedlight or flashlight.
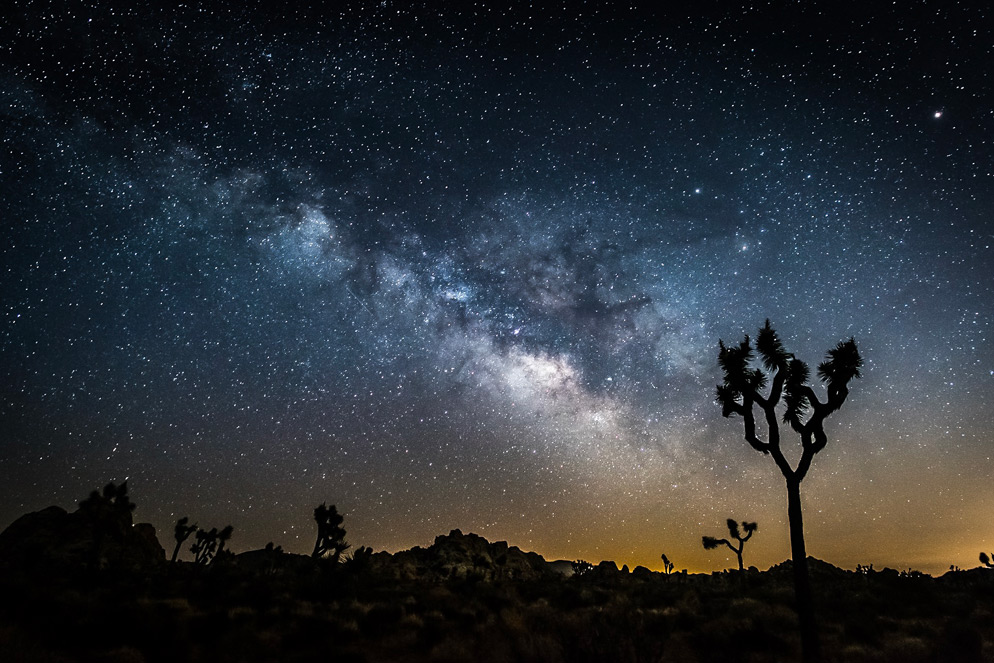
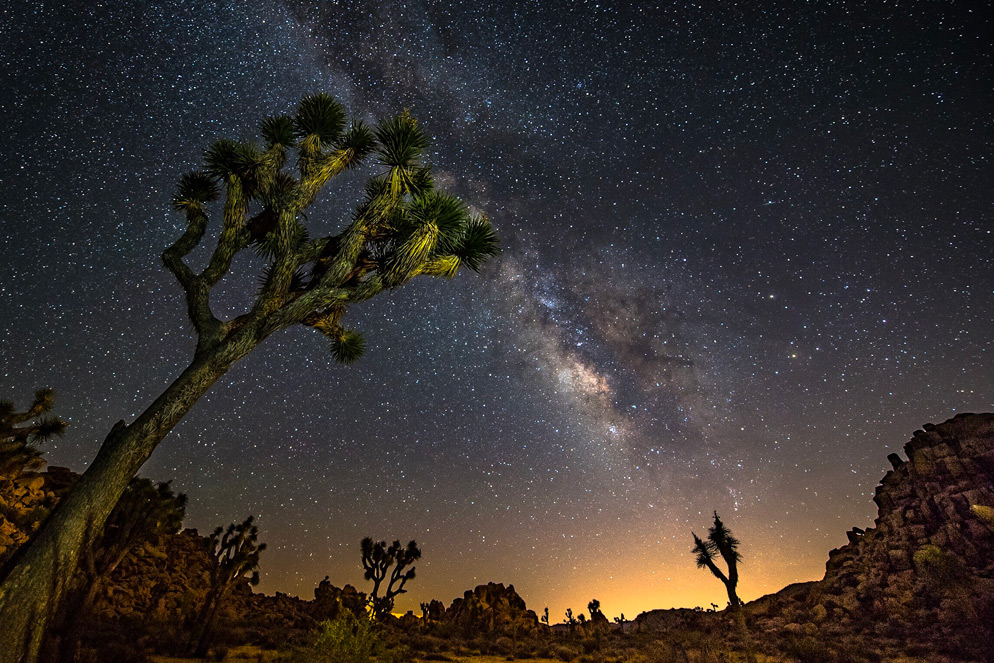
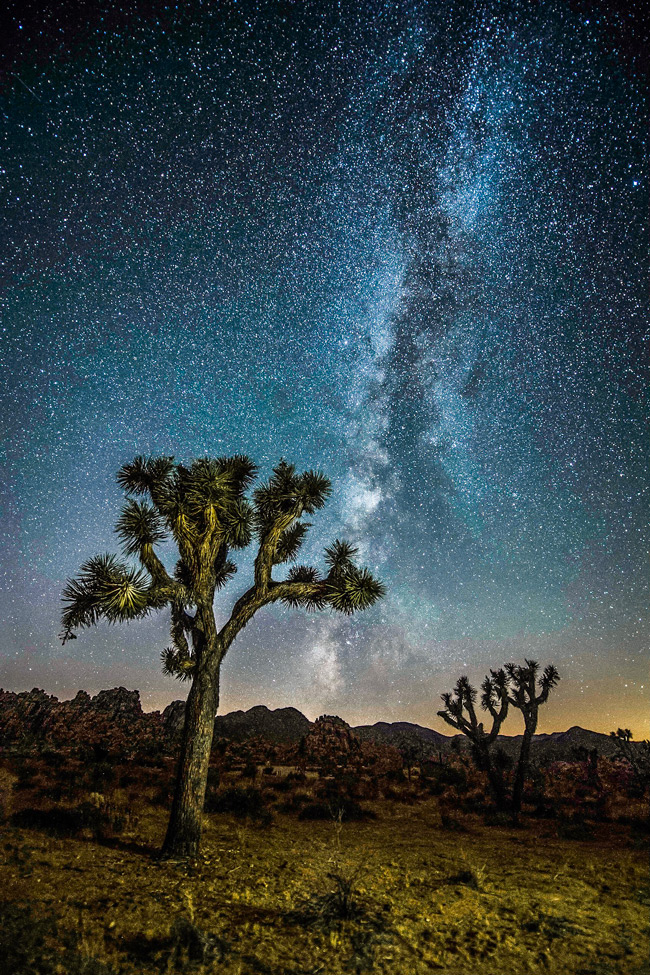
Another photo captured in Joshua Tree National Park with a flashlight used in lightpainting the foreground tree and ground cover. D5, AF-S NIKKOR 14-24mm f/2.8G ED, 15 seconds, f/2.8, ISO 3200, manual exposure, Matrix metering.
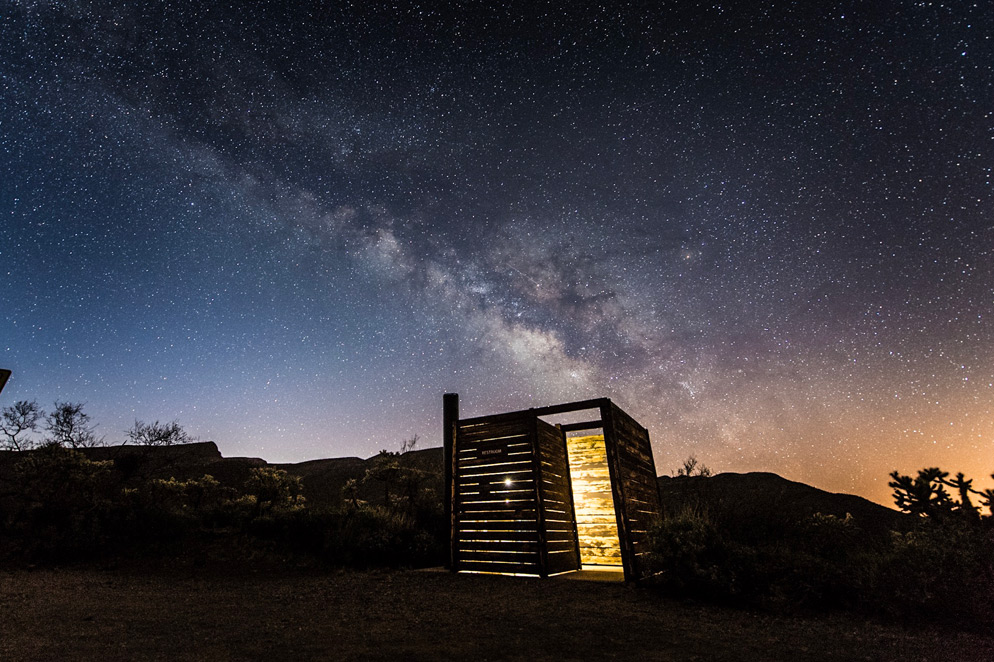
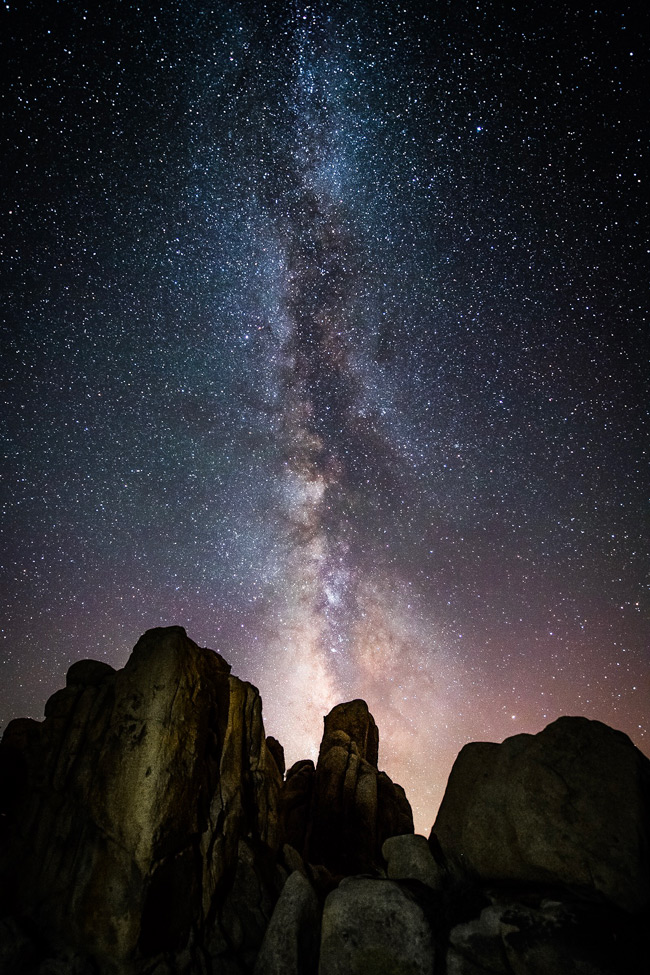
This photo was also captured Joshua Tree National Park but features rocks in the foreground instead of the trees the park is so well known for. This time a flashlight was used for lightpainting of the foreground elements to get them to stand out more. D5, AF-S NIKKOR 14-24mm f/2.8G ED, 20 seconds, f/2.8, ISO 2500, manual exposure, Matrix metering.

