How to Photograph a Solar Eclipse
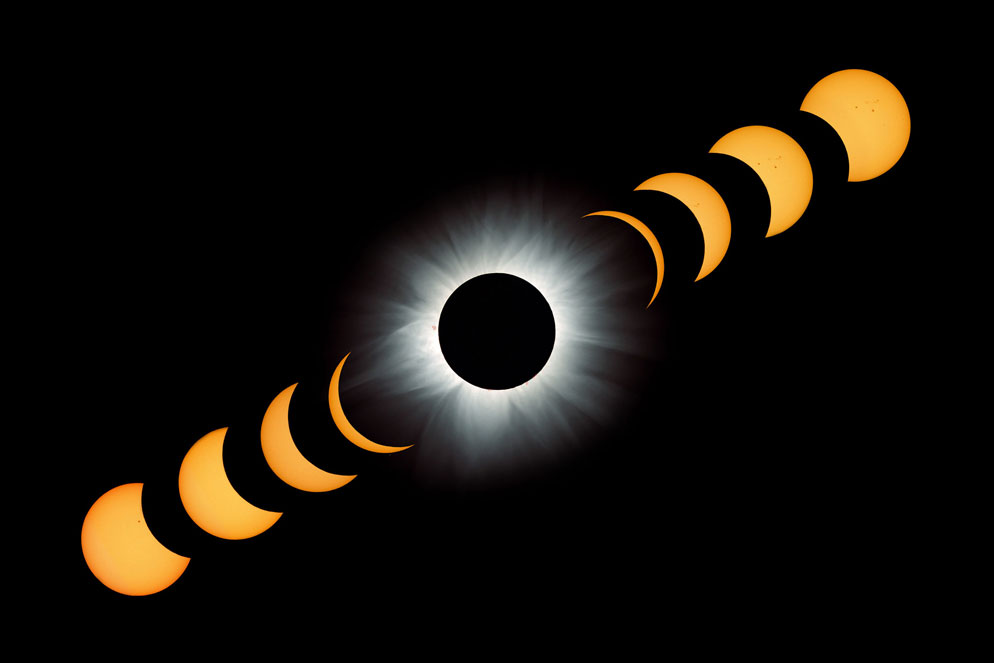
June 21, 2001 total solar eclipse, Chisamba, Zambia. Nikon N90s, Vixen 90mm Refractor f/9. Composite shows the various phases of the eclipse. The central image of the corona during totality is a composite of 22 negatives which reveal subtle details and structures in the Sun's atmosphere.


Whereas lunar eclipses are safe to view with the naked eye, solar eclipses are not. You must take the necessary precautions to keep from harming your eyesight. In fact, you also need to use a “solar filter” to keep from harming your camera’s imaging sensor as well as for correct exposure.
A solar eclipse occurs whenever the moon’s shadow falls on Earth. This can only occur during a new moon, when the moon passes between the sun and Earth. There are two or more solar eclipses a year; which occur when the geometry lines up just right, so that part of the moon’s shadow falls on Earth’s surface and an eclipse of the sun is seen from that region.
Partial and Total Solar Eclipses
The moon’s cone-shaped shadow has two parts, the penumbra and the umbra. The penumbra is the moon’s faint outer shadow and partial eclipses are visible from within the penumbral shadow. The umbra is the moon’s dark inner shadow and total solar eclipses are visible from within the umbral shadow. The track of the moon’s umbral shadow across Earth is called the Path of Totality, and it covers less than 1 percent of Earth’s surface area (typically 10,000 miles long and about 100 miles wide.)
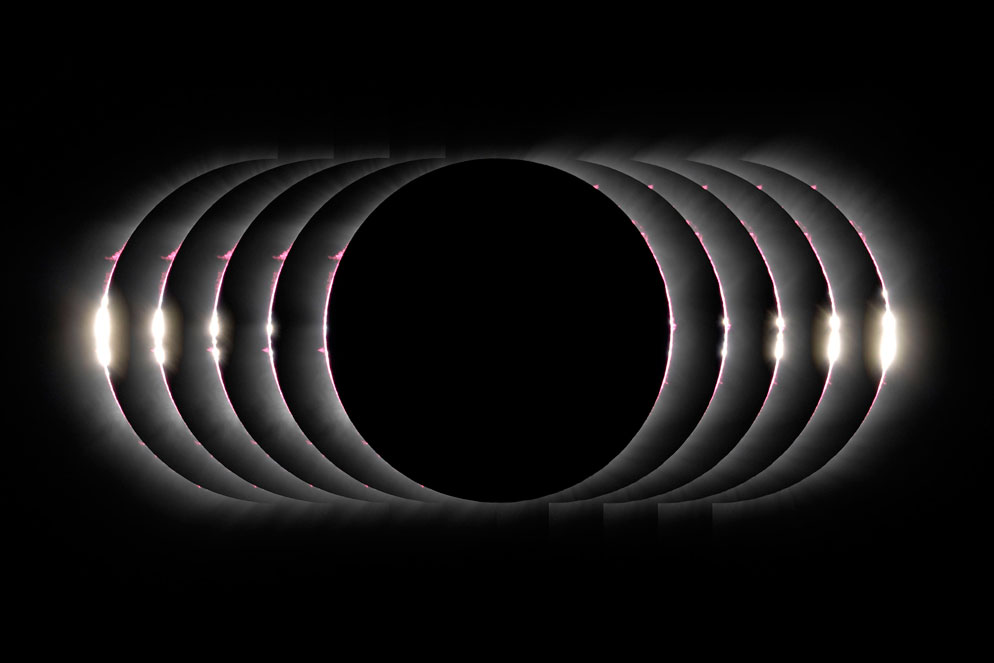
A solar eclipse begins as a small notch slowly appears along one edge of the sun. During the next hour, the moon will gradually cover more and more of the sun’s bright disk. If the eclipse is a total solar eclipse, the last remaining minutes of the partial phases can be dramatic. The crescent of the sun grows thinner as the moon’s shadow approaches. The abrupt darkness of totality is stunning to view, and the solar corona is an awe-inspiring sight. The sun’s corona can only be seen during the few brief minutes of totality.
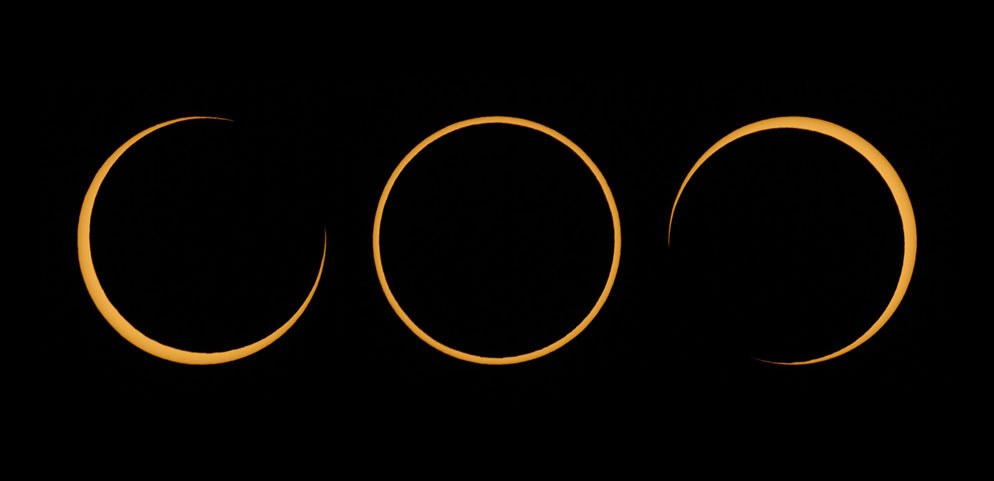
Annular Solar Eclipses
A total solar eclipse occurs when the moon is on the near side of its elliptical orbit. When the moon is on the far side of its orbit, it appears smaller and can’t completely cover the sun. It is during these eclipses that the moon’s antumbra shadow (the extension of the umbra) reaches Earth, causing an annular eclipse for people who are within the track of the antumbra (also called the path of annularity). During this type of eclipse, you will see a ring or annulus of bright sunlight surrounding the moon at the maximum phase.
Just as with the partial eclipse of the sun, you must take precautions and use a solar filter to view the annular eclipse. Annularity can last up to 12 minutes.
Hybrid Eclipse
A third type of solar eclipse, that may rarely occur, is called a hybrid eclipse. A hybrid eclipse is the name given to a total eclipse that changes to an annular eclipse or an annular eclipse that changes to a total eclipse. They are sometimes called annular/total eclipses. Hybrid eclipses occur when the curvature of Earth brings different points of the path into the total and annular shadows respectively.
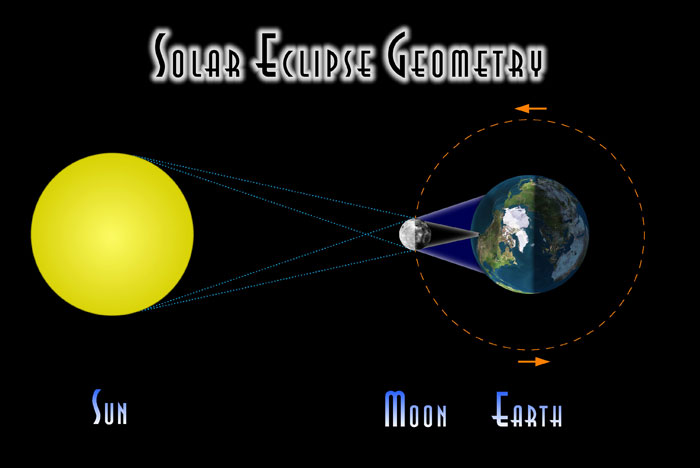
Geometry of the Sun, Earth and Moon During an Eclipse of the Sun. The Moon's two shadows are the penumbra (shown in blue) and the umbra.
(Sizes and distances not to scale.)
Solar Filters
When viewing or photographing the partial phases of a solar eclipse or the maximum phase of an annular eclipse, you must use a solar filter. Even if 99% of the sun is covered by the moon, the remaining 1% crescent is dangerous to view with the naked eye and can cause serious eye damage or blindness.
You can find information on solar filters and where to purchase them from astronomy websites and magazines. Safe solar filters for cameras and telescopes are available as either "Full-Aperture" and "Off-Axis" filters. Both of these filters fit over the objective (front end of the telescope) or camera lens.
Full-aperture solar filters are the preferred filters of choice. This is because the filter completely covers the front of the telescope so the entire mirror or lens is used. No refocusing of the telescope or camera lens will be needed when you remove the filter at the beginning of totality or when it is replaced back on the telescope/camera lens at the end of the total phase.
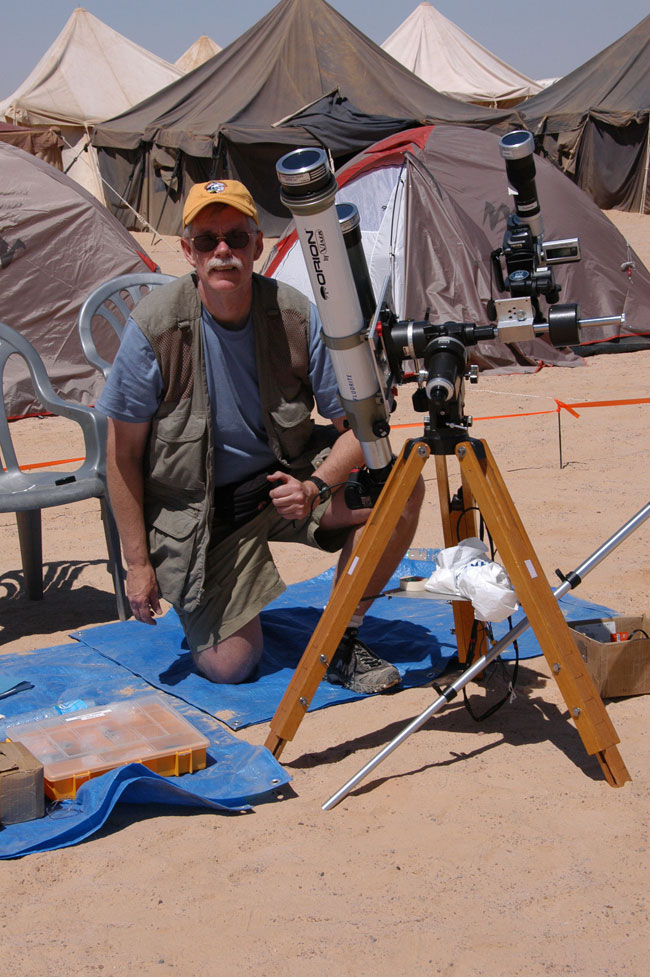
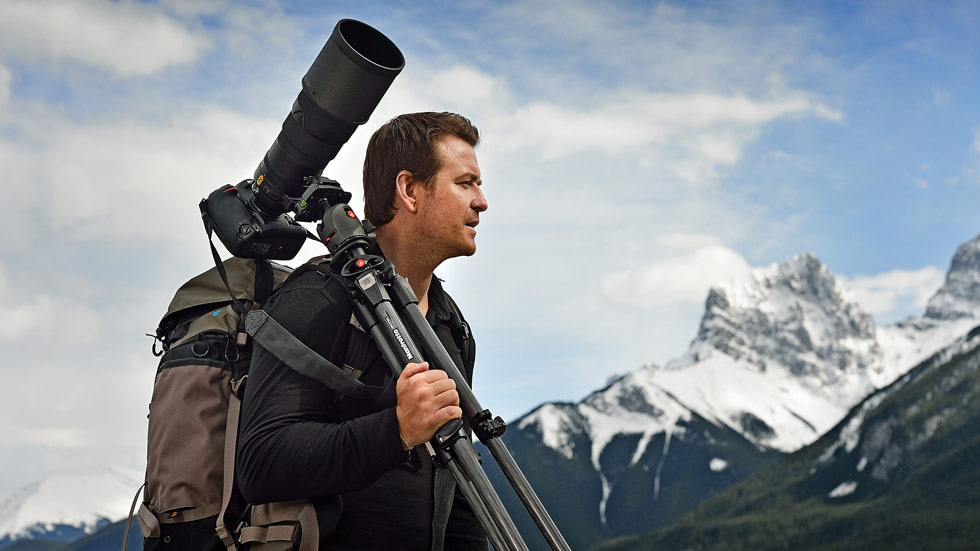
Pictured here is Fred Espenak in Libya for the Mar. 29, 2006 solar eclipse. Note the solar filters on the front elements of the telescopes and the Nikon D-SLR attached to the telescope closest to him, cable release in hand.
Starting Exposure
Solar eclipses may be viewed and photographed, provided certain precautions are taken. You can photograph a solar eclipse with any type of camera: D-SLR, COOLPIX or Nikon 1. The longer the focal length of the lens, the larger the images of the sun you’ll be able to make. While you can also use film cameras to photograph eclipses, this article specifically discusses digital camera use.
With a D-SLR, you can also combine a super telephoto lens with a teleconverter to increase the focal length. You can also increase the relative size of the eclipse image by selecting an FX camera’s "DX Crop Mode". If you’re photographing the solar eclipse using a COOLPIX compact digital camera, turn the built-in flash to OFF.
How large you want the sun to be in the frame will determine what focal length lens to use. For a D-SLR camera with a full frame FX sensor, choose a focal length of 2000mm or less. For a D-SLR camera that has a DX sensor, the maximum focal length is about 1300mm; any longer and you won’t be able to get the entire sun in the frame.
However, if you also want to capture the sun’s corona during the phase of totality, then you should choose a focal length that’s shorter still—no more than 1400mm for an FX (full frame sensor) camera, or 900mm for a Nikon DX camera.
Place your camera on a sturdy tripod, and manually focus the camera, setting it to infinity.
If you are using a telescope on an equatorial mount, the electric drive will track the sun keeping it centered in your camera throughout the eclipse.
A solar filter must be used on the lens throughout the partial phases for both photography and safe viewing. These filters typically attenuate the sun’s visible and infrared energy by a factor of 100,000. Almost any ISO can be used because the sun gives off abundant light. The actual filter factor and choice of ISO will play critical roles in determining the correct exposure.
The easiest way to determine exposure is to run a calibration test on the un-eclipsed sun on a clear day prior to the eclipse. Digital cameras are ideal as you can see your results almost instantaneously. Shoot the mid-day sun at a fixed aperture, (choose an aperture between f/8 and f/16) using every shutter speed from 1/4000 second to 1/30 second. Looking at the exposures, choose the best shutter speed/aperture combination and use them to photograph the partial phases of the solar eclipse. Your camera’s histogram function is an excellent way to evaluate the best exposure. The histogram should not be clipped but should lie toward the upper end of brightness values. Because the sun’s brightness stays the same throughout the partial phases, no exposure compensation will be needed. You may also decide to bracket your exposures to ensure that you photograph the solar eclipse with a perfect exposure. If you ran your test on a sunny day and the eclipse occurs on a hazy day, increase the bracket of exposures an additional f/stop.
Photographing the Totality Phase of a Solar Eclipse
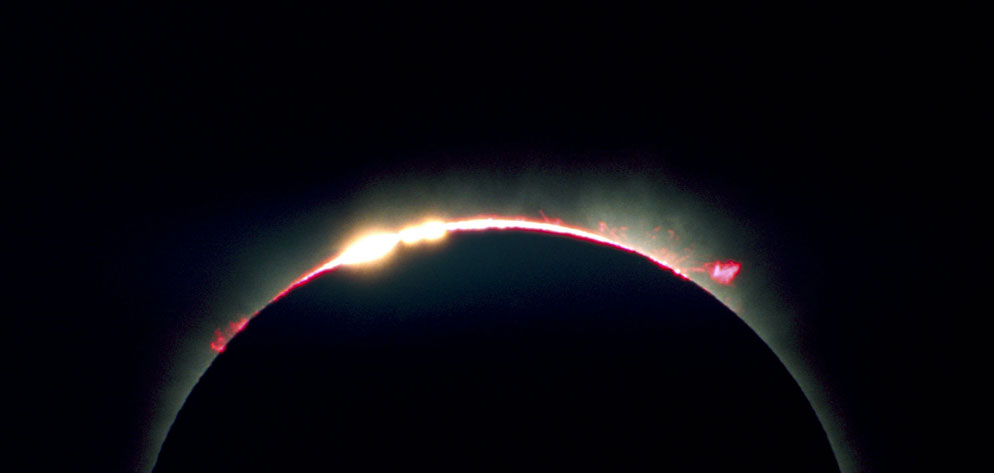
Certainly the most spectacular phase of the solar eclipse is totality. For a few brief seconds or minutes, the sun’s pearly white corona, red prominences, and chromosphere are visible.
The great challenge is to obtain a set of photographs that captures these fleeting phenomena. During the total phase, all solar filters must be removed. This is because the sun’s corona has a surface brightness a million times fainter than the sun’s visible disk or photosphere, so photographs of the corona must be made without a filter. Furthermore, it is completely safe to view the totally eclipsed sun directly with the naked eye. No filters are needed, and in fact, they would completely hide the view.
The average brightness of the corona varies inversely with the distance from the sun’s limb. The inner corona is far brighter than the outer corona thus, no single exposure can capture its full dynamic range. The best strategy is to choose one aperture and bracket the exposures over a range of shutter speeds from 1/1000 second to 1 second. You should rehearse the actions of setting up the camera and adjusting exposures because it is common for photographers to become easily distracted when viewing this phase of the solar eclipse, so much so that you forget to make pictures.
Click here for Mr. Eclipse’s Solar Eclipse Exposure Guide. This guide features various exposure suggestions for the different features of a solar eclipse. Whichever exposures you do choose, bracket by one or two f/stops to ensure you get the best possible image. Use RAW format if your camera has this option because it allows greater flexibility in adjusting the exposure when processing your images after the eclipse.