Lighting Techniques: Light Painting
Light painting adds an element of uncertainty, a touch of the experimental. It demands creativity, is short on predictability. It's an adventure, and it's fun.
Light painting results when a hand-held light source—usually a flashlight of some type—is used in a dark room or outdoors at night to illuminate a subject. When you make a light painting, your camera's on a tripod with its shutter open for a timed exposure while you walk around and illuminate parts of the scene or subject with the light.
Dave Black, who began his career as a sports shooter and then branched out into practically everything, has been creating light painting photographs for over 10 years. "No two light paintings will ever look the same," he says. "How you move the flashlight across the subject, how close you bring it to the subject, the amount of time the light is on—all of that's going to change the picture every single time. There's always experimentation involved; that's what makes it so exciting." What's also involved is dedication. "I tell students that it might take 10, 15 or 20 tries to get one image that they'll really like, where all the pieces of the puzzle work the way they want them to work."
In effect, light painting negates automation and all the guarantees that technology provides; it turns the results over to you. "You're in charge, and what you physically do will determine the picture," Dave says. "How fast you walk, how much you paint..."
Feeling adventurous? Here are some guidelines, suggestions and starting points gleaned from Dave's experience.
The Essentials
A tripod, first and foremost. Dave uses a Gitzo carbon fiber model—"substantial," he says, "but still quite light. Strong and sturdy are important, but if I'm doing landscapes I don't want to be hauling a heavy steel tripod all over the place. And I'm not supporting a large lens, either; most of my light painting is done with relatively short zooms like the 24-70mm." Camera choice? Dave strongly recommends a D-SLR rather than a compact point-and-shoot for light painting.
Then there are the lights. The smallest of Dave's trio of flashlights is the Stylus Penlight from Streamlight. Next is the larger, brighter INova Bolt. The third is the big gun, the two-million candlepower Brinkmann Max Million II.
Dave always activates Long Exposure Noise Reduction on his tripod-mounted Nikon D-SLRs. He'll use autofocus to get his subject sharp, then turn it off before he begins light painting (otherwise the AF system will likely be hunting for a point of focus throughout the exposure).
He'll most often set 30 seconds as his shutter speed. "If I need to go longer, I'll use the accessory Nikon MC-36 multi-function remote cord, but most of what I do is done in 30 seconds or less. Here's a good starting point for your experiments: 30 seconds, f/8, ISO 400. Not a rule, just a guideline."
Dave advises against metering for a light painting photograph.
"It'll fool you," he says. "I use the LCD to see how the light is working and how the exposure looks." There are exceptions, though: if there's ambient light in the scene, Dave will sometimes meter for that light and use the reading as a starting point, then check his results. How do you know whether to meter for ambient light or not? It all comes down to the experience that comes with experimentation.
Start Small(er)
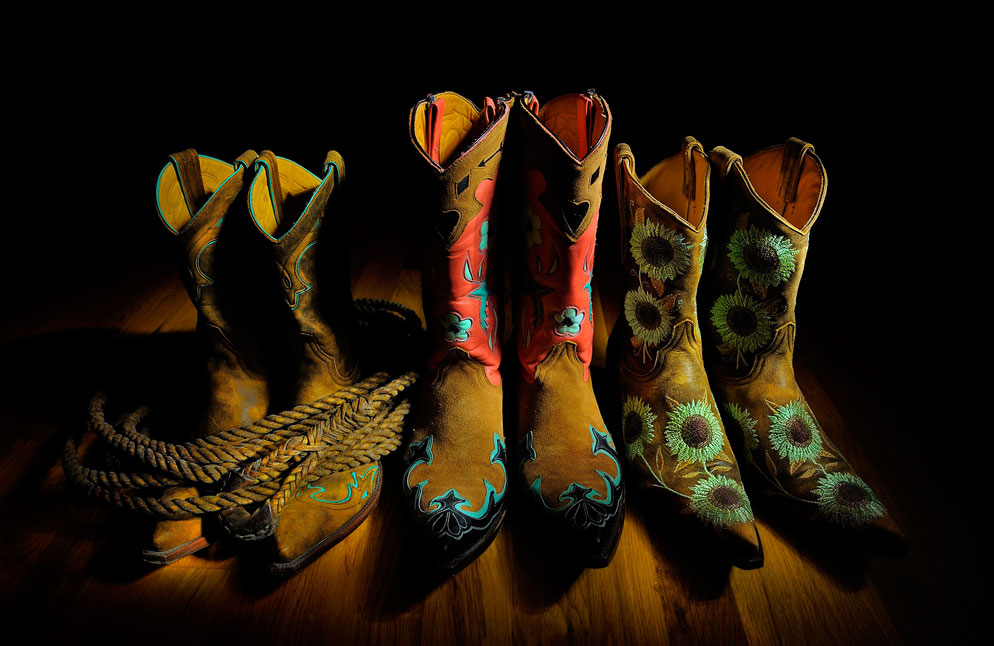
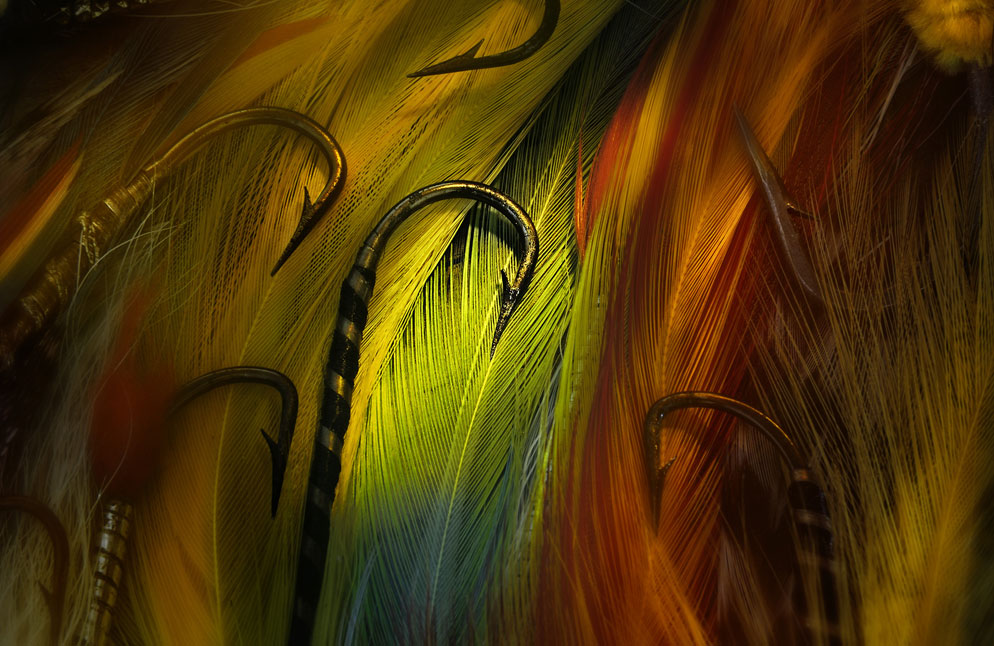
You're going to see some pretty large scale light paintings among the examples of Dave's work, but his advice is not to try for the big stuff in the beginning. A dark room, an interesting subject on a table and a small flashlight is your best bet at the start. Check out Jenny's Boots and Fly Hooks (below) to see what can be done with imagination and a flashlight.
Applying the Light
How does the actual application of the light work? We call it painting, but is that what's it like? Pretty much. "I usually tell people to move the light source in either a circular motion or in a very gentle brushing sort of motion," Dave says. "With light painting I can wrap light around my subject, rather than apply it directly as I would with a flash. I can soften the edges—much softer than if I were using even a giant softbox. I can highlight specific areas, and give extra light where I want it, and need it, to objects in the scene that I call supporting characters—the things that help hold the picture together. But the most important thing is, you have to move the flashlight; you can't just point it and hold it. You want soft, transitional-edge light."
Direction is also important. "Typically you want any kind of light, whether it's flash, sunshine or light painting, to come from an off-camera location. It's much more pleasing to have an angle of light coming in on your subject, defining you subject. Straight-on light is flat, and it doesn't look very appealing."
Hold Still!
We know what you're thinking, and so does Dave: how do you light paint people during 30-second exposures?
"Finding a suitable person is part of the challenge," Dave admits. "You need people who have patience, and then you prepare them. You tell them, 'This is how it's going to come down: you have to hold very still. You won't be able to move for 30 seconds.' And you tell them it's going to be a long session."
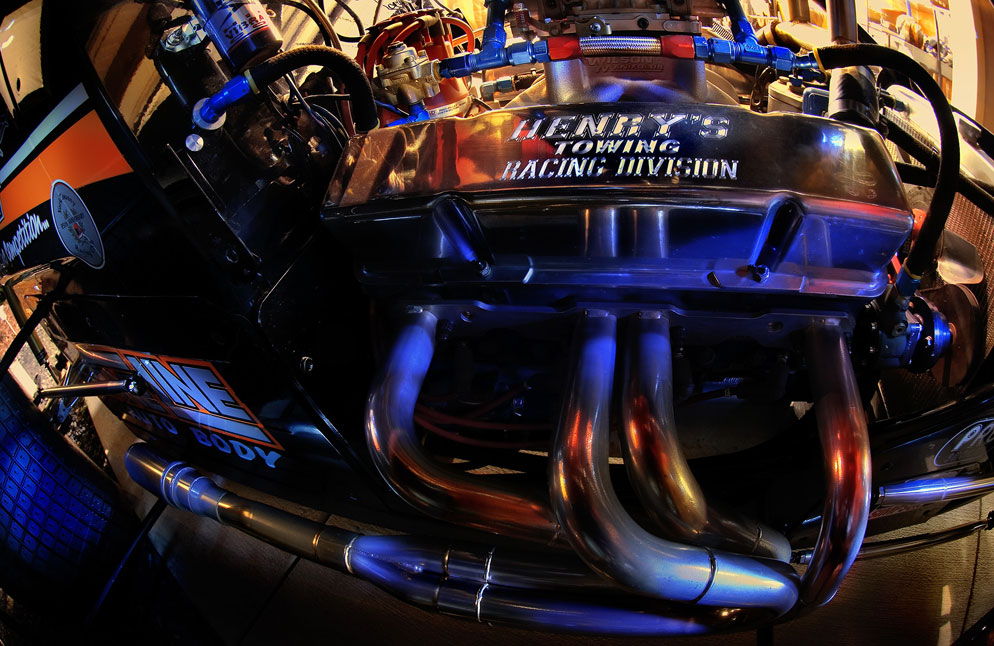
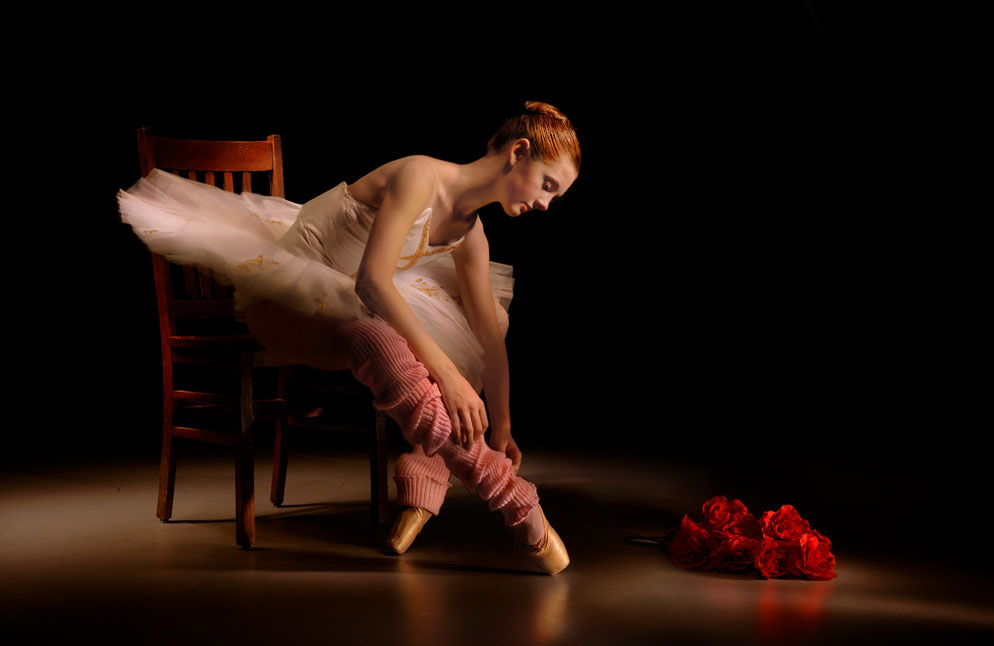
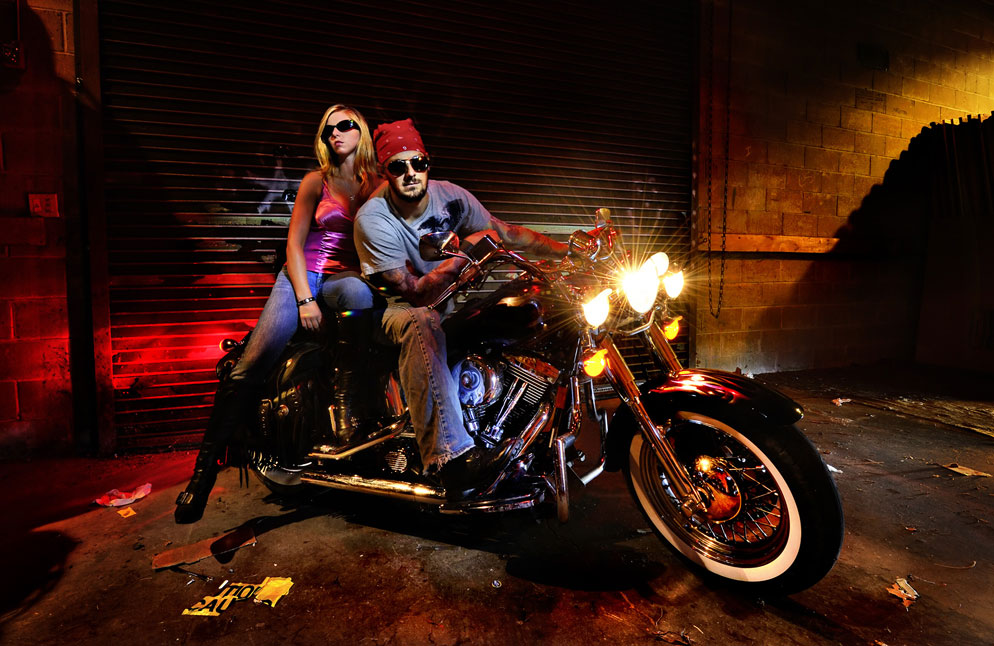
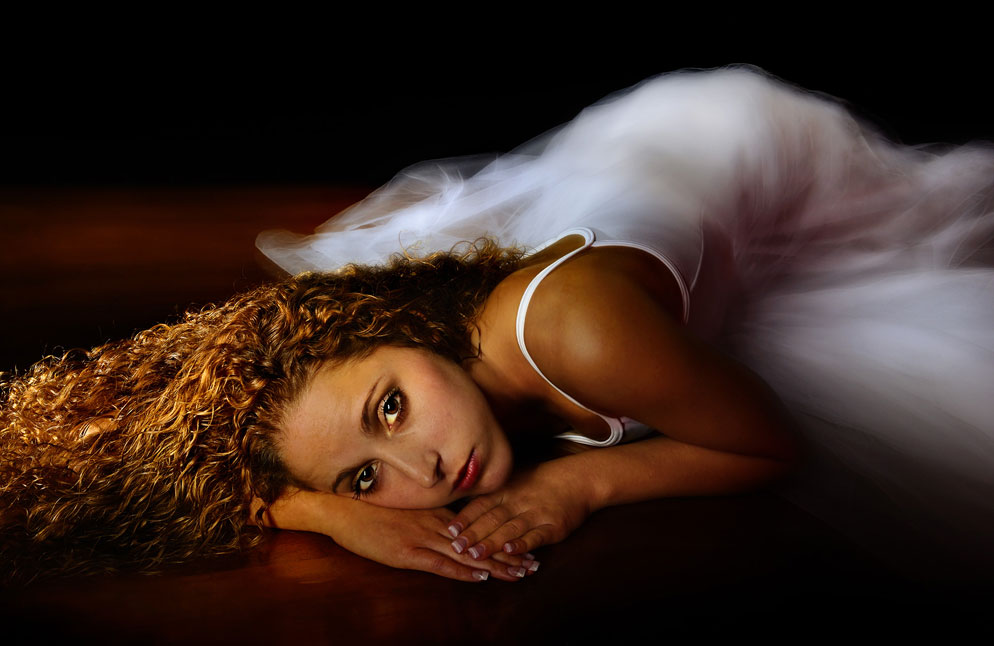
Dave tries to always place his people in comfortable positions. None of the people you'll see in the accompanying photos—the couple on the motorcycle, the ballerina in the chair, the girl lying on the floor—is standing in free space. "My subjects are either going to be supported by something, leaning against something, holding onto something or sitting on something. And as I try various positions, I ask, 'Are you comfortable? Can you sit still for a minute?' The ballerina's position would have been difficult for almost anyone, but she's a trained professional and it was no problem for her to lean forward and hold her hands in that position and not move."
Face First
When people are your subjects, paint their faces first because that's the most likely part of the body to move during a long exposure. Turn the flashlight on, paint the face, turn it off and move to light other areas if you wish. Now if your subjects blinks or moves a facial muscle, there's no light on the face to illuminate that motion.
Site Survey
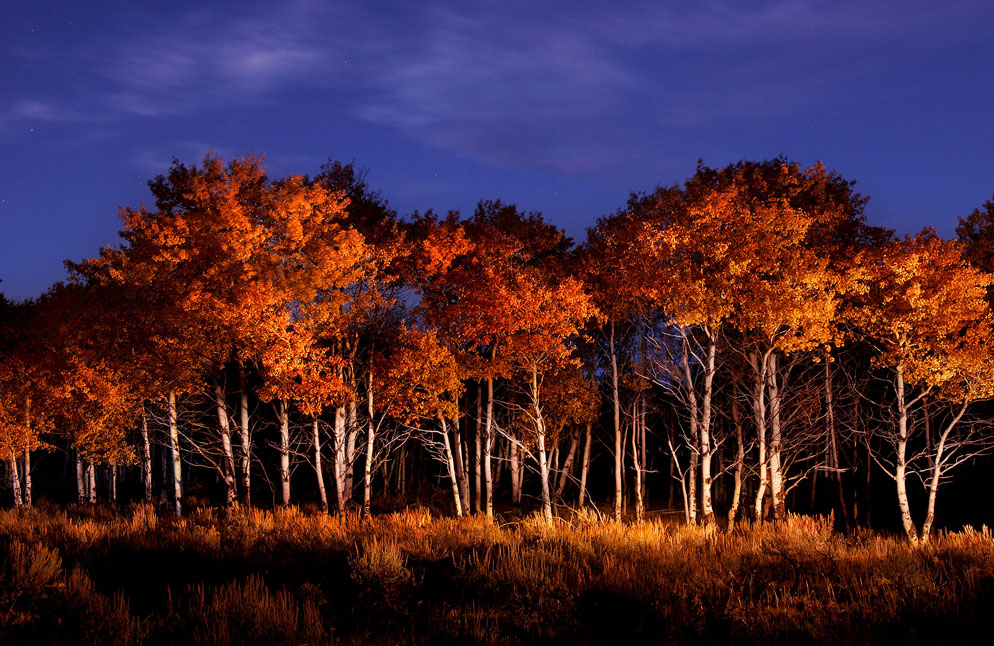
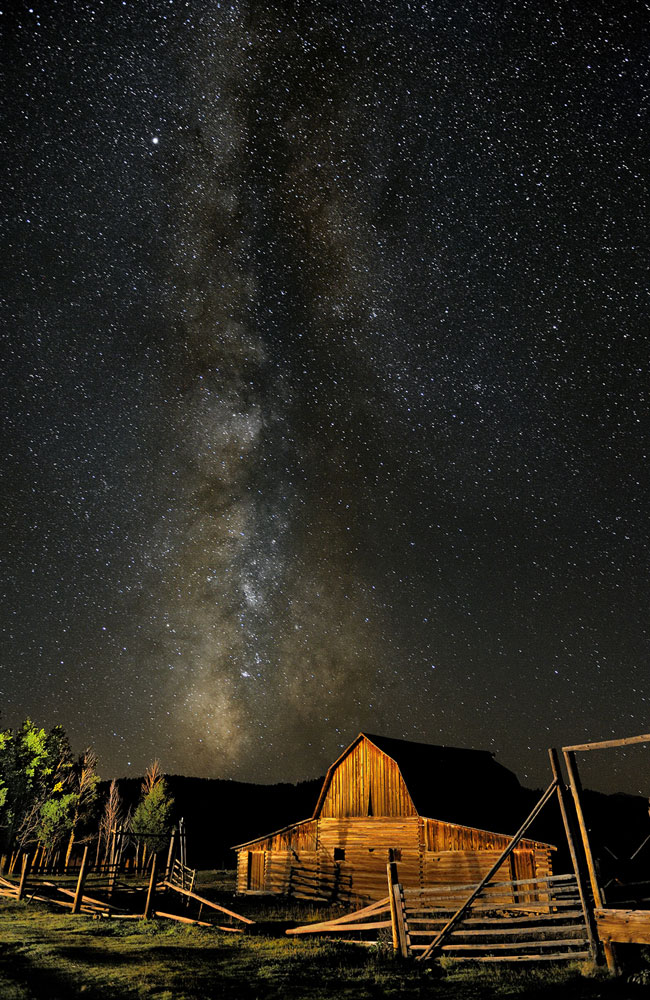
Night time is not the right time to search for subjects, so before you take your light painting outside and into the night, scout the territory and make your discoveries and evaluations in daylight. "You find a barn," Dave says by way of example, "so the thing to think about is, how close can I get to it? Is it safe to walk around the area at night? Out in the wilderness there are holes in the ground, ravines, obstacles—make sure your choice of location is safely accessible, and plot out your moves in daylight. Where will you set up the camera? Where will you apply the light, from what direction and what off-camera location? And remember that lots of times a subject isn't impressive until its been painted with light. The aspen trees, for example [the first photo at the top of the page]; in daylight they looked lovely enough, but they had potential to be really special. And they fit the criteria: I could park relatively close because I don't want to hike in for a mile. I save my energy and time for light painting, not hiking. I think I walked about 60 yards and then set up the camera; the trees were about another 30 yards away."
Cause and Effect
Light painting seems to demonstrate more clearly than anything else that what we're looking at in a photograph is the effect of light, rather than light itself. In fact, it's the effect of light on a subject that can be the real subject of a light painting photograph—and that's something to think about when choosing a subject.
For example, the photo of fly fishing hooks. "A lot of people say that capturing a moment is what photography is all about," Dave says. "Well, the fly fishing hooks aren't a moment in time; they're fly fishing hooks, on a table, in a nice arrangement. It's the light that attracts you to that photo. I had set a little goal for myself with that image: I was going to take a very static, mundane object and produce an exciting picture using light. Fly fishing itself is boring, and fly fishing hooks—well, now we're getting really boring. But the light makes you go, 'Wow!' Same thing with the boots; boots don't attract you, but the light falling on the boots, that's what makes you go, 'Look at that, that's beautiful.' Well, they're just a bunch of boots—it's the light that's beautiful."
Over to You
We hope these tips and suggestions, and Dave's photos have inspired you to take a walk in a dark room with a flashlight, to try a little light painting. Remember, there are few rules and lots of room for creative exploration; in other words, trial and error.
The sooner you get started, the sooner you'll start to accumulate your own light painting lore.
Stardust Barn - "Not a long exposure, but I got the Milky Way at ISO 2500 and f/4. When I want to do a star field I go to a very high ISO, because if I go much more than 30 secs. the stars will have too much movement." Dave gave the trees, barn and fence just a touch of light from the Max Million II. D3S, AF-S NIKKOR 24-70mm f/2.8G ED, 30 sec., f/4, ISO 2500.
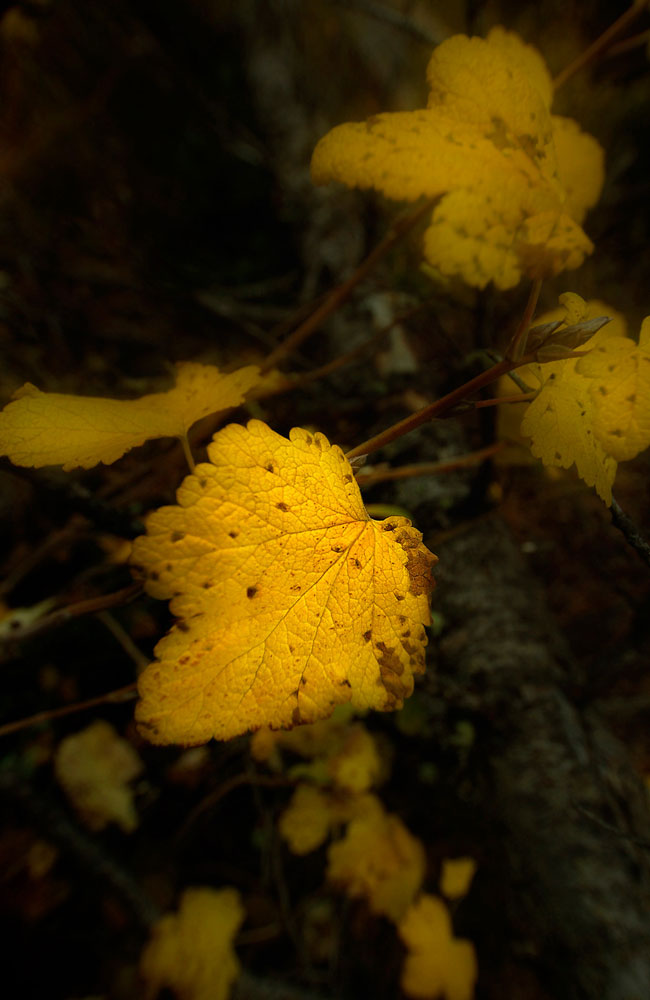
The Yellow Leaf - Dave used the Bolt with the flexible gaffer-tape snoot pinched to a small opening to direct the light. D2H, AF-S DX Zoom-NIKKOR 12-24mm f/4G IF-ED, 20 sec., f/8, ISO 200.

