How-To Take Great Photos at the Aquarium
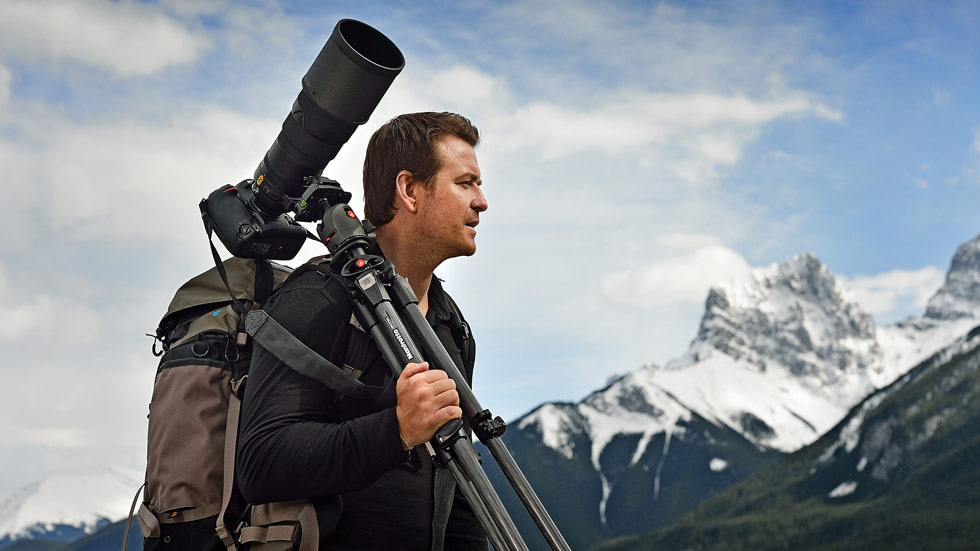
As a National Training Specialist for Nikon, much of my job is educating photographers and photo enthusiasts how to take great photographs and videos with their Nikon photographic equipment. On a number of occasions, I’ve been asked to lead Photographer’s Night at the Aquarium of the Pacific, in Long Beach, CA. After taking many photographs in this environment, I decided to put together all of the tips that I’d found to be the most helpful when visiting an aquarium with your camera.
Reflections and Refractions
The single biggest challenge to aquarium image creation is dealing with the external reflections. The aquarium is lit so you can find your way around, which can cause issues because the light reflects off of everything! The walls, benches, your clothes, your camera gear, you and the other visitors as well will all be visible as reflections in the glass of the large aquarium tanks. In order to even be able to attempt taking worthwhile photos, you need to control the reflections. Blocking them is a start. You could wear all black clothing to block the reflections…but even all black clothing usually has buttons... and then there’s the issue of your face. Yep... it reflects too. I guess you could go dressed in full Ninja gear... But the looks you’re likely to get... May not be the best idea.
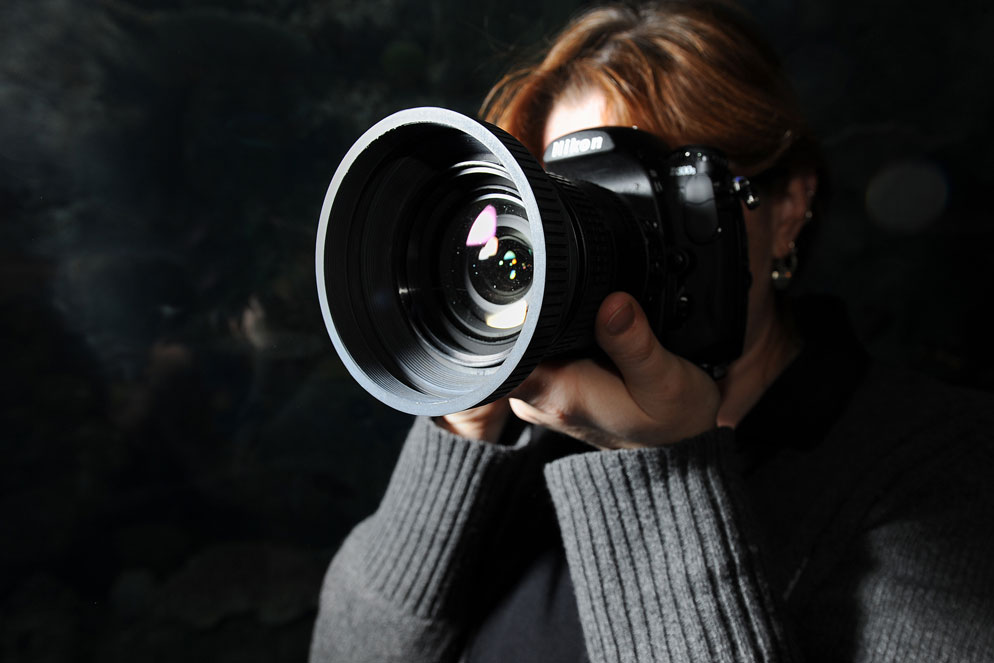
So, the solution is to use a lens hood. When pressed against the face of the aquarium tank, a lens hood will form a cone of reflection free darkness. Score! Well... almost. The problem is that a hard lens hood that’s made of either plastic or in some cases, metal, will still have some issues. They can scratch the front of the tank’s glass or acrylic surface. As photographers, we need to tread lightly and not ruin the experience for the next visitor. Additionally, many lenses now come with scalloped hoods that would still let in light. And don't even get me started on the fact that most modern public aquariums have "upgraded" to curved-face tanks. These curved faced tanks can even gather reflections from around corners! Here is where the rubber meets the road... err... fish tank. By using a simple generic rubber lens hood, you can create a completely reflection-free cone of darkness.
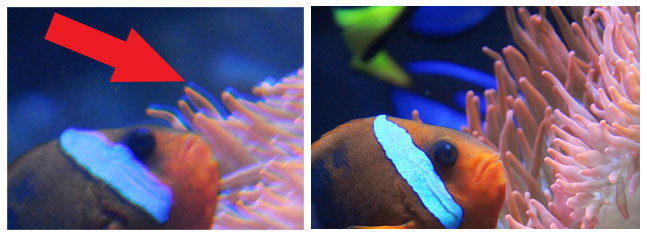
The rubber lens hood is excellent for bending and adjusting to your body's small movements as you hold the camera against the tank surface and try to compose your image. Nikon offers rubber lens hoods to fit a variety of lenses. Check your lens' manual to make sure you're using the correct one. The rubber will not harm the tank face, and they're inexpensive. They work best on normal to moderate telephoto lenses. When paired with a wide-angle lens, it is easy for the lens to "see" the hood. This causes rounded black cropping of the corners of the picture, so you’ll have to take care when composing your photographs with a wide-angle lens; you may need to crop your final image so the lens hood is not visible. You also need to watch out for light refracting through the face of the tank. Many modern aquarium tanks are made of a thick acrylic material. I find that I need to be extra careful when photographing through such a tank face. In this situation, you will need to shoot perpendicular to the tank face, otherwise you’ll likely see a colored (purple) ghost of your subject. This is due to the way light passes through the face of the tank.
The photo at left shows an example of refraction. The faint purple fringe is caused from the camera's lens not being held perpendicular to the aquarium tank face, because the photograph was made by shooting on an angle. Whereas the photo at right shows no refraction.
Lens
So what lens works best?
Many fish will swim very close to the face of an aquarium tank—so that they’re swimming mere inches away from the tank material. But, as I mentioned earlier, in order to get a reflection free image, you need to use a rubber lens hood pressed directly against the tank front. That means that the focusing distance can be mere inches, which means you will need to use a macro or Micro-NIKKOR lens.
But not just any macro lens will do. You need to use a lens that will also let you see the entire fish when it is several scant inches from the lens. The 85mm, 105mm and 200mm Micro-NIKKOR lenses will have too narrow a field of view. The AF-S Micro-NIKKOR 60mm f/2.8G ED lens provides a near-perfect field of view for a FX body, (which uses a 24x36mm image sensor); and the AF-S DX Micro-NIKKOR 40mm f/2.8G lens is ideal for use on a DX body, (which uses the smaller 16x24mm image sensor). The 40mm can focus down to about 2-inches from the front of the lens. This means that no matter how close the fish is to the other side of the tank face, you can still get a sharply focused image.The single biggest challenge to aquarium image creation is dealing with the external reflections. The aquarium is lit so you can find your way around, which can cause issues because the light reflects off of everything...In order to even be able to attempt taking worthwhile photos, you need to control the reflections.
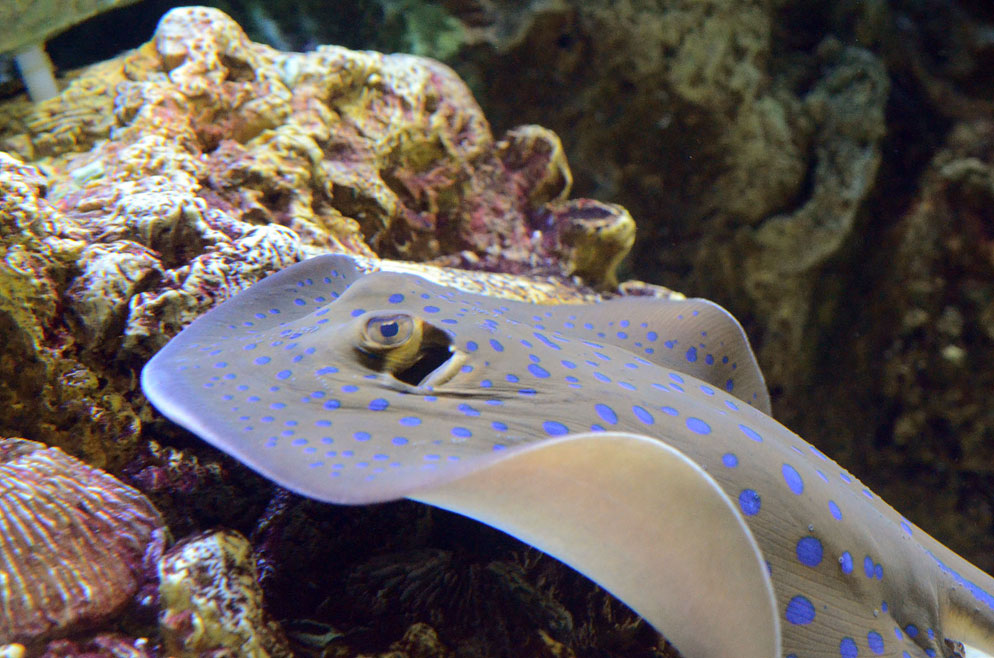
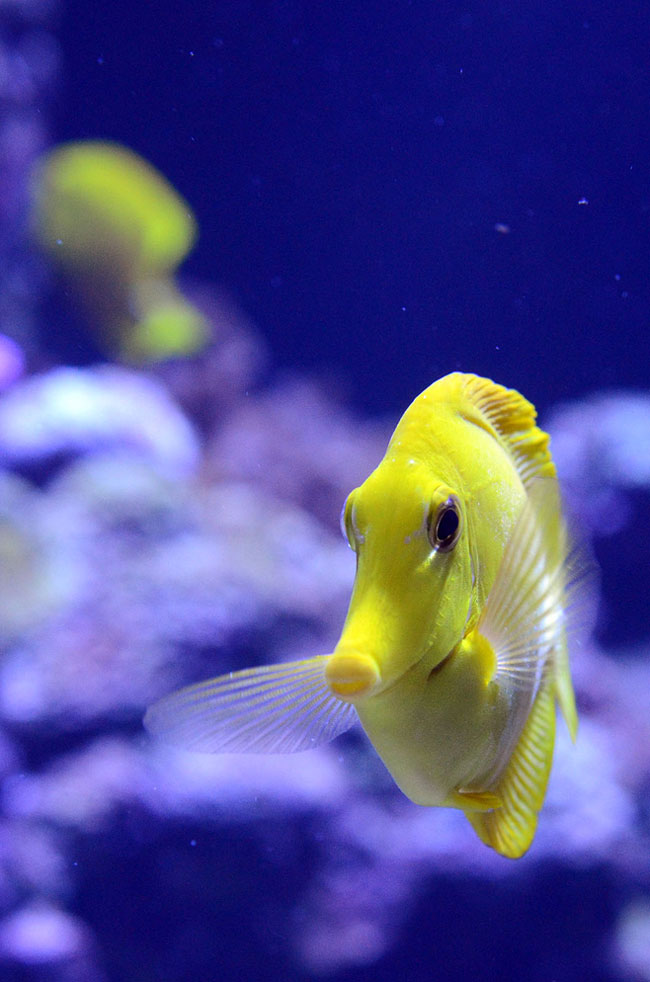
D7000, AF-S DX Micro-NIKKOR 40mm f/2.8G lens, Manual exposure, 1/125 second at f/5, Auto ISO (1000), AF-C, Matrix meter
Exposure
Aquarium images aren’t as easy as I had initially thought. Trying to keep moving subjects in focus that are being lit by low-level artificial lighting is just the tip of the photographic iceberg. And although it took me a while to come up with the ideal exposure, I've got a pretty solid starting point. Shoot on Manual + Auto ISO + 1/125 sec. + f/5.6 = nice photos of fish shot in a barrel …err, I mean… aquarium.
Because the fish don't move that fast, you shouldn’t need much more than a shutter speed of 1/125th sec., any slower and they start to blur. Shutter speeds faster than that don’t seem to offer any additional help. The balance of subject detail and background separation seems to occur at about f/5.6. Because the lighting in the tanks can vary so much—and not just from tank to tank, but in different areas within a single tank—the solution is to change the ISO. Set the camera to Manual exposure so you can lock in your desired shutter speed and aperture. Then use Auto ISO to compensate for the lighting changes.
I found that doing this always gave me the minimum ISO possible for each shot in each situation. This helps keep the ISO noise to a minimum, while maintaining the desired exposure parameters. You’ll want to keep an eye on the highlights. The artificial lighting used in the aquarium tanks can easily cause the lighter colored fish or lighter stripes on some fish to loose detail in the upper end of the highlights. If you find blown-out highlights, use a little negative exposure compensation. It may seem odd to manually expose the photograph while using Exposure Compensation, but since the ISO is set to Auto, the compensation adjusts the ISO to make the correction in the exposure.
White Balance
In most cases, I find that the Auto White Balance works the best.
Flash
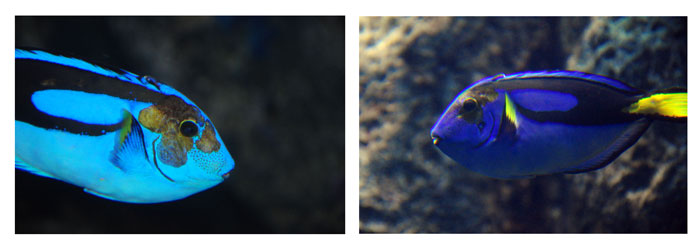
This is easy. My advise on flash is simple. DON’T USE IT! Fish scales are very reflective. They tend not to mix well with flash.
(l.) Blue Tang fish photographed with flash. The flash will cause unnatural coloring of the fish or animal you're photographing. (r.) In this image, shot without flash, the fish shows off its natural colors.
Nikon 1 Cameras at the Aquarium
For those folks who have a Nikon 1 advanced camera with interchangeable lenses, you can get a rubber lens hood for your lenses as well. The 10-30mm lens is likely to be your best choice of lens for this type of photography. All other suggestions as to exposure settings apply here as well.
Please… DO try this at home!
Your home aquarium can be photographed in much the same manner as we just discussed. The biggest additional issue you will face will be the background. You will need to provide an appropriate background for your fish images. Try a sheet of poster board positioned on the far side of the tank. Place it outside the tank. The reason for this is simple. Pictures of your goldfish look weird when it appears to be swimming next to your couch. A simple sheet of poster board or Foamcore will give you a nice clean background that will make your little Nemo the center of attention.


