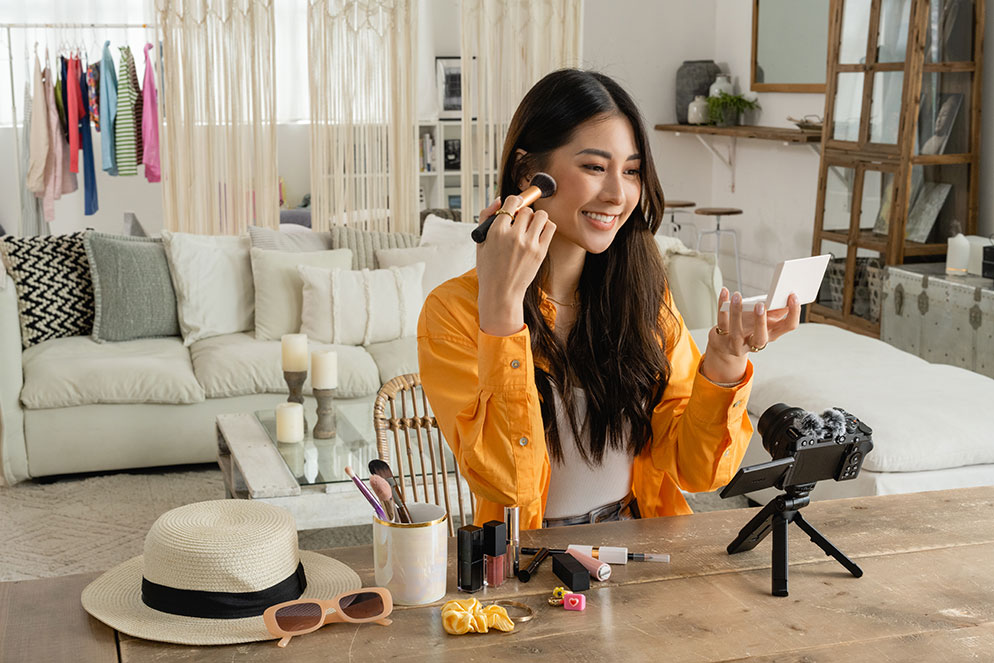
5 Must Know Settings for Shooting Video with the Z 30 Mirrorless Camera
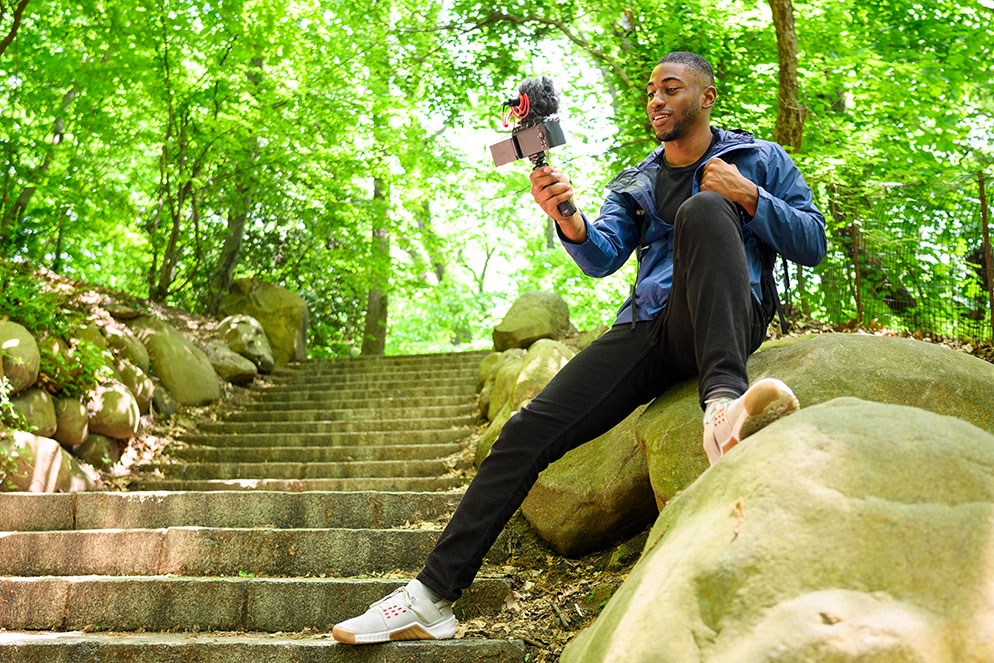
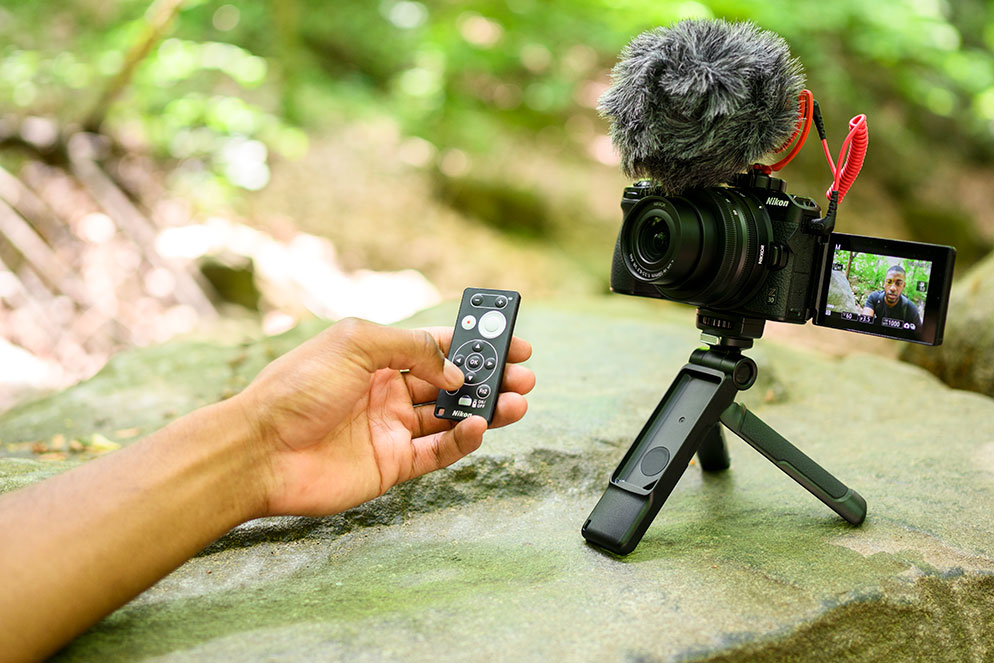
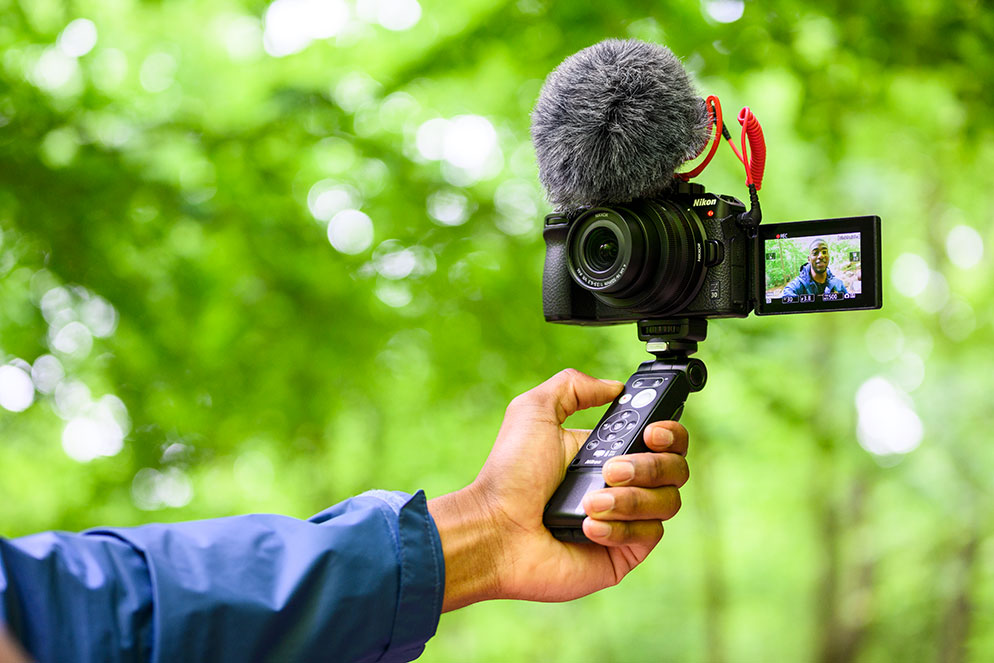
The Nikon Z 30 is a great camera for capturing video, whether you’re just getting started with your first digital camera, are an experienced vlogger or consider yourself more of a video enthusiast. We’ve pulled together the 5 must know settings you’ll need to consider in order to start capturing great video with your Z 30.
1. Video shooting mode
2. Focus/AF-area mode
3. Frame size and rate
4. Audio levels
5. Picture control
Video Shooting Mode
Just like when taking pictures, you’ve got the choice of shooting modes when capturing video. But they work a little differently in video. The ones you'll likely use most often for video are They are Auto, Aperture Priority (A) and Manual (M).
Set the camera to Auto and the camera will take full control, picking all the settings you’ll need for the situation you’re in. On the other end, setting the camera to manual means you choose all of the settings. Aperture Priority gives you the control over selecting the aperture with the camera setting the appropriate shutter speed (matched to the frame rate you've got set). You can also adjust white balance, Picture Controls, metering and Active D-Lighting.
Tips for Reducing Flicker in Video
If you’re shooting video under fluorescent lighting in P, S or A modes, you might notice flicker. Flicker happens because of the “mismatch” between shutter speed and frame rate AND the refresh rate of certain lighting fixtures. While you might think of fluorescent lighting as constant lighting, the camera doesn’t see it that way. But, we’ve got a solution—simply turn on the Flicker Reduction option in the camera’s Video Shooting menu. The three options are Auto, 50 Hz and 60 Hz. In the USA, you’ll want to set the camera’s Flicker Reduction to 60 Hz. You can also manually set your shutter speed to 1/125 of s sec., 1/60 of a sec., or 1/30 of a sec to counteract flicker.
Focus Mode
Next, you’ll want to set your focus mode. You can access the Focus Modes through the i Menu. Most of the time you’ll likely want to keep the camera set to AF-F for full time Autofocus, which is the ideal setting for moving subjects. Manual is reliant on your adjusting focus using the focus or control ring on the lens itself. This is ideal for controlled rack focus.
AF-area Mode
The next item you need to set is the AF-area Mode or Focus Point. You’ll also find it in the i Menu. There are eight different options you can choose from: Single Point AF, Wide-area AF S and Wide-area AF L, Auto-area AF, Wide-area AF (L for people), Wide-area AF (L for animals), Auto-area AF (people) and Auto-area AF (animals).
These three—Single Point AF, Wide-area AF S and Wide-area AF L—let you choose how large an area you want the focus point to be. Auto-area AF lets you select almost the entire frame for focusing. The last four options— Wide-area AF (L for people), Wide-area AF (L for animals), Auto-area AF (people) and Auto-area AF (animals)—are used either for capturing video of mainly people or animals and selected based upon how large of a focus area you want. In these modes, the camera will hone in on the face or eyes of a person or animal (respectively, depending on which you’ve selected).
Frame Size/Frame Rate
Next up is to set the frame size and frame rate. These control the size and resolution of your video. The Frame Rate is the number of frames that are recorded per second. The higher the frame rate, the smoother your video footage will look. For a cinematic look, use 24p. For action, use 60p and for most other general video you can use 30p.
Frame size of 3840×2160 is what you’ll want to select for 4K UHD or 1920x1080 for Full HD. You can choose the frame rate and frame size combination that best suits the needs of what you’re shooting and what you intend to do with the final footage. There’s a helpful chart in the camera’s user’s manual that lets you know how long you can record at each of these settings to a 32GB card on a full battery charge.
Slow motion
You can also record slow motion videos using the Z 30.
Select [1920×1080; 30p ×4 (slow-motion)], [1920×1080; 25p ×4 (slow-motion)], or [1920×1080; 24p ×5 (slow-motion)] for [Frame size/frame rate]. Just note that sound won’t be recorded. To understand how this works, in [1920×1080; 30p ×4 (slow-motion)], images read at a frame rate of 120p are recorded as a video in 30p. A video recorded for about 10 seconds will be played back for about 40 seconds. This is a cool option to use if you want to capture the minute action in sports, like when a bat impacts the ball.
Audio Levels
Setting the audio level to Auto will work for you most of the time. Whether you’re using the camera’s built-in stereo microphones or an external accessory mic, you’ll want to check your audio levels prior to recording video.
If you want to get a full understanding of how to set audio levels, read on... As the audio level rises, the levels will be represented on the audio level scale. The audio level scale is broken into three distinct sections: white is the largest section of audio level measurement and that’s where most of your audio should fall into; yellow is the next area that audio may fall into, and this is at the top end of acceptable audio levels. Audio that falls into the red is at the high end of the range and it will be distorted.
If, while recording video, you notice the levels rising into the red, simply lower the audio sensitivity until the levels drop into the yellow area at the very least, or the white area.
There are a few other helpful settings you may want to utilize that can also be found in the video recording menu. If you’re shooting video in a very loud environment, turn on the Audio Attenuator to suppress audio distortion.
There’s also a setting for Frequency Response. The options are vocal range or wide range. If you want the camera to optimize audio recording for voices, select Vocal Range.
Picture Control
You’ll also want to set the Picture Control on the Z 30. Standard or Neutral will give your video a more natural look and feel. Standard is the closest to how the human eye perceives color. There are also 20 creative Picture Control options that you can select to give your video footage a very different and funky look but remember that choosing one of these options will “bake” that color into your footage, so there’s no going back! For folks who are more advanced in shooting video, you've also got the option here to go with Flat if you're going to color grade your footage in post-production.
Once you’ve got your settings all figured out, you’re ready to roll the action!