Destination Latin America:
Keys to Capturing the Color and Beauty of the Caribbean, Mexico and South America

Travelers view the Inca ruins at Machu Picchu. Blaine came to the site at sunrise, which was an hour or two before lots of tourists arrived. "If you want to see the fog rising from the Urubamba River, you have to show up early," he says.


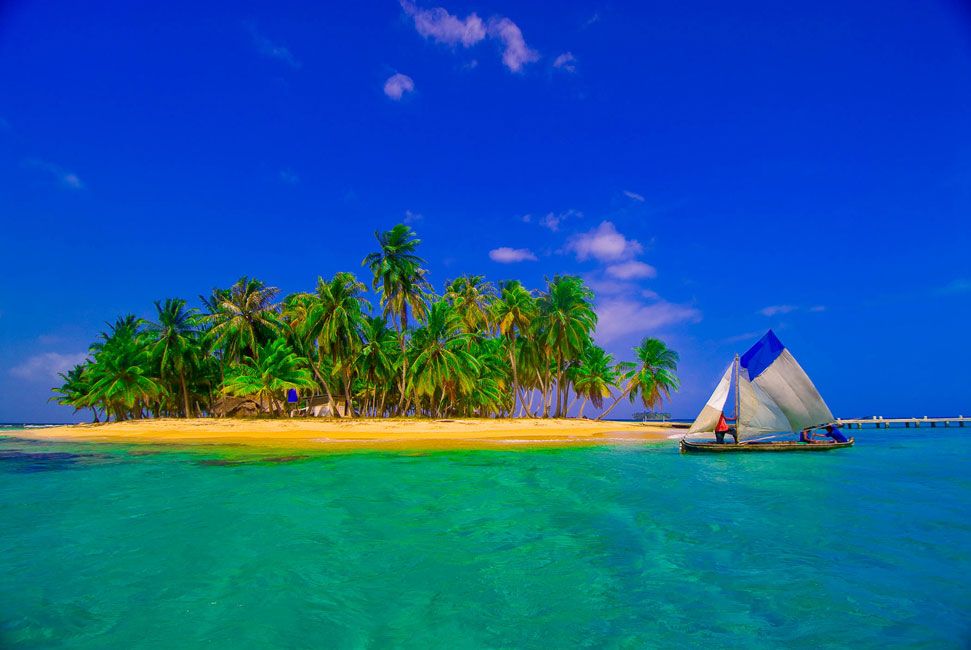
Travel to Latin America offers a world of activities and the great weather in which to enjoy them, plus an infrastructure geared to making vacations memorable. Link those attributes to your interest in photography, and you're going to have no end of opportunities.
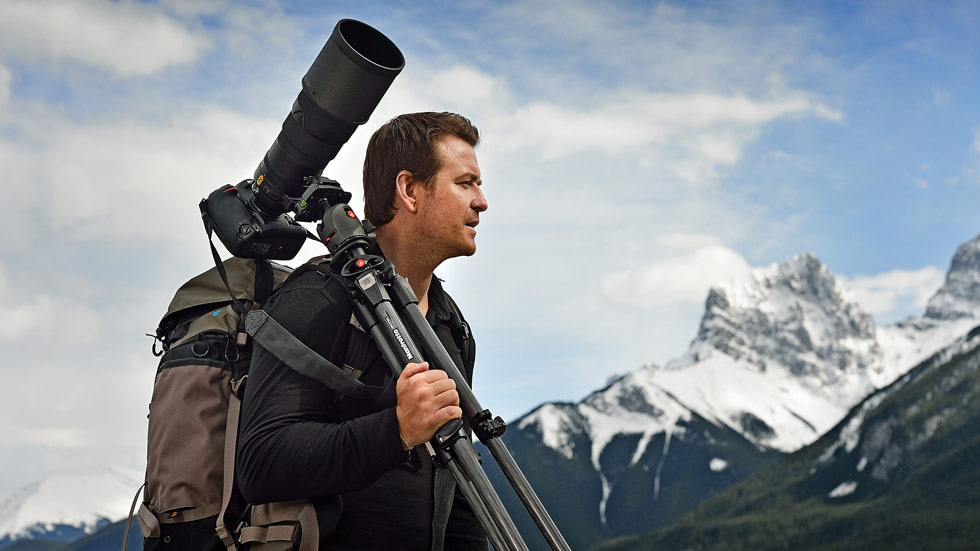
To help make those photo ops pay off, we'd like to pass along some suggestions from pro travel photographer Blaine Harrington, for whom Latin America is a favorite destination.
The first thing Blaine advises is no surprise: be sure you've got a wide-angle lens so you can capture the sweep and beauty of the land- and seascapes.
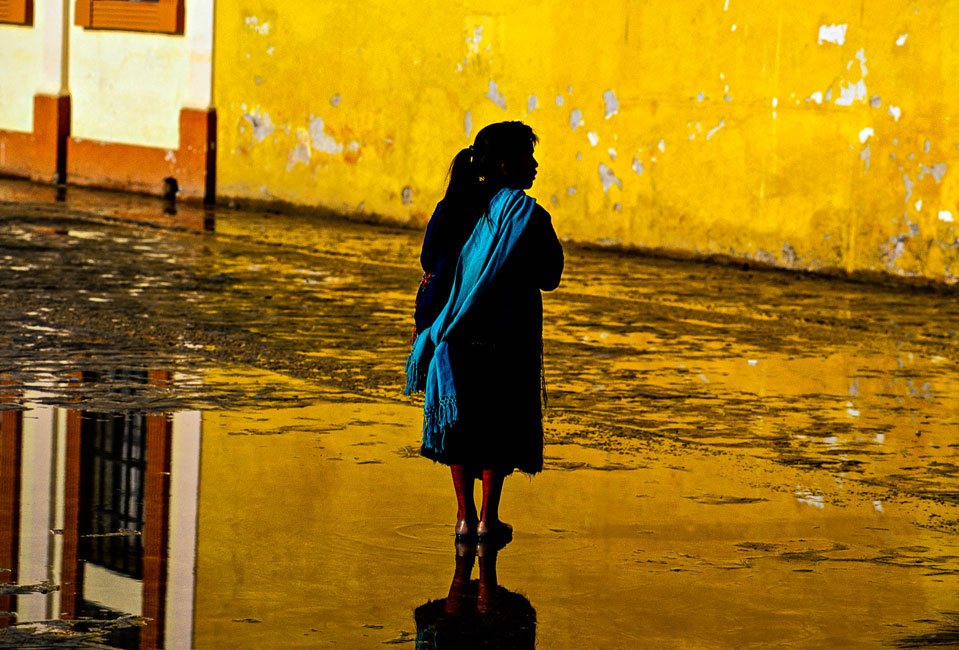
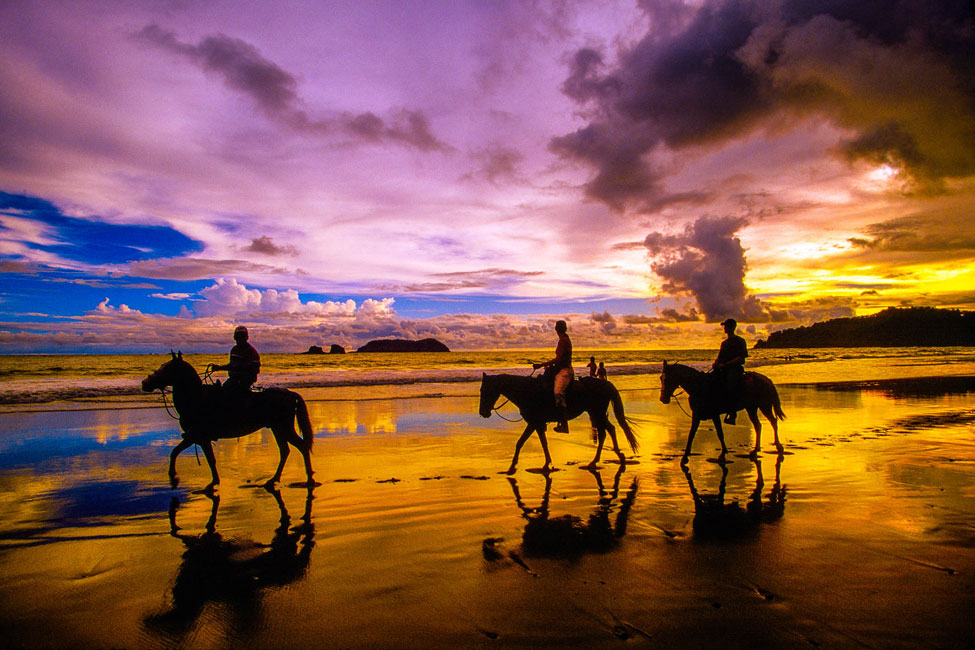
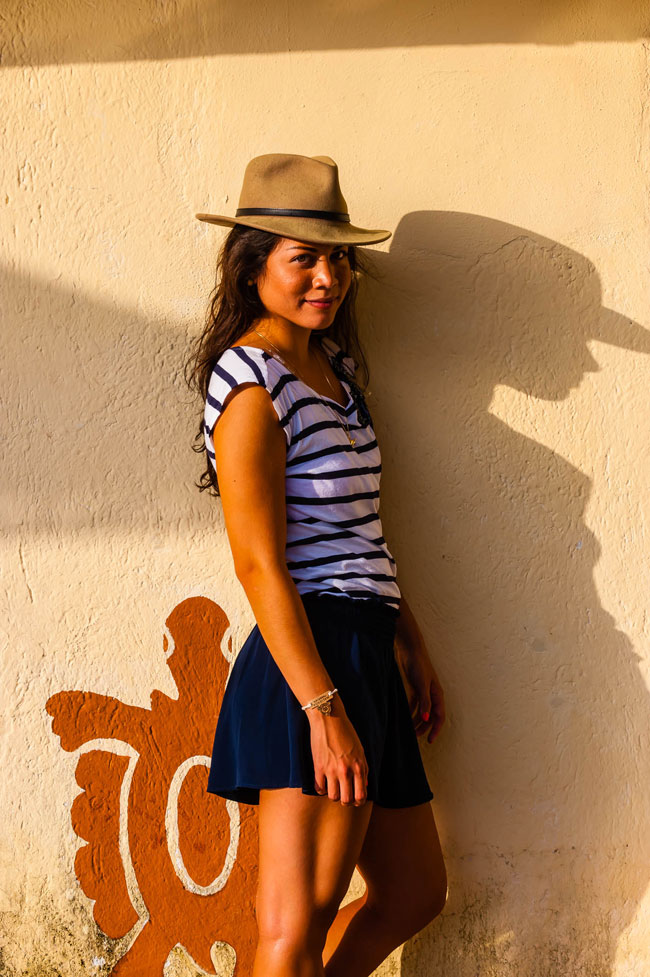
His second suggestion has to do with time—specific time, as in "the right time of day." Simply, the land, the sea, the beach, even street shots and portraits will look best in the flattering and dramatic early and late light of day.
But before we get to time, let's talk gear and techniques.
The Big Picture
Blaine routinely carries four NIKKOR lenses for his workhorse D810 and backup D700: an AF-S NIKKOR 24-70mm f/2.8G ED, an AF-S NIKKOR 70-200mm f/2.8G ED VR II, an AF-S NIKKOR 14-24mm f/2.8G ED and an AF Fisheye-NIKKOR 16mm f/2.8D.
Since it's unlikely you'll be carrying that much glass, you might find the 24-70mm and the 70-200mm an ideal, versatile duo. If you're looking for a one-camera, one-lens combination, there are several wide-to-tele lenses that will be suitable companions for your Nikon DSLR, including the AF-S NIKKOR 24-120mm f/4G ED VR, the AF-S Zoom-NIKKOR 28-70mm f/2.8D IF-ED and the AF-S NIKKOR 28-300mm f/3.5-5.6G ED VR.
An important accessory to consider for travel to places that offer lots of sunshine and shiny, reflective surfaces like the sea and resort hotel pools is a Nikon circular polarizing filter. It'll cut down glare and reflections, and you can rotate it to increase or decrease the effect. An added bonus is that while the filter is reducing glare, it's often increasing color saturation, which explains some of those deep blue skies you see in so many travel photographs. A good tip is to become familiar with the filter's effect before you use it on location.
Exposure Choices
When Blaine lifts his camera, chances are it'll be set for manual exposure. "I'm old school," he says, "and I'm most comfortable having full manual control." That will change, though, when the light is changing rapidly or he's moving quickly through different lighting conditions. "I'll set the camera to aperture priority if I feel I can't make the manual changes fast enough."
Aperture priority is also his choice when he needs increased depth of field to emphasize a progression of patterns in the landscape or when he wants to take advantage of leading lines in a composition. (He suggests that if you follow his lead, you always remember to reset to manual once the special circumstances are satisfied.)
And if he needs fast shutter speeds to catch fast-moving subjects, he won't hesitate to boost the ISO to get the speeds he needs.
"Ultimately, being prepared to take good images with whatever gear you carry is the real key to travel photography," Blaine says, "so be sure to know a bit about the land, the people, their culture and what you might expect to see along the way. There will be surprises—that's part of the adventure—but if you're serious about your photography, be aware of what you're hoping to get when you lift your camera."
An important accessory to consider for travel to places that offer lots of sunshine and shiny, reflective surfaces like the sea and resort hotel pools is a Nikon circular polarizing filter. It'll cut down glare and reflections, and you can rotate it to increase or decrease the effect.

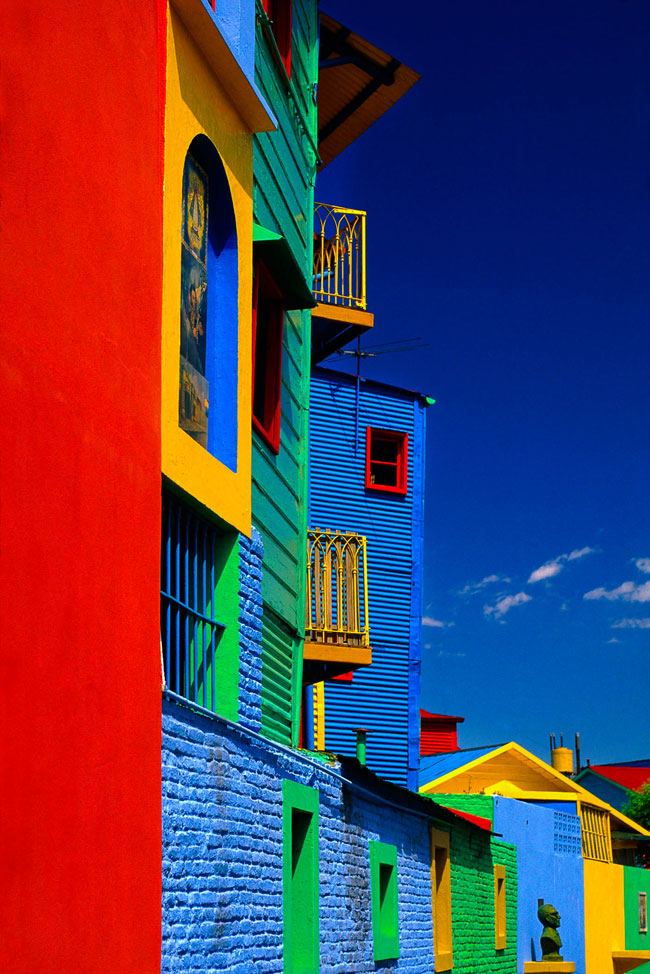
Early morning light adds intensity to the color of Caminito Street in the La Boca neighborhood of Buenos Aires, Argentina.
Time and Again
Okay, here's the issue with time and timing: if you're on vacation, and you really want to capture memorable images to showcase the location and your ability to capture it, the time of day you should be photographing is the time of day you'll want to be having a leisurely breakfast or relaxing after a long day.
A professional photographer like Blaine, on assignment or shooting for stock, doesn't have that problem. The best light for photography is going to happen early and late; the flat or harsh light of noontime and early afternoon is when a pro shoots details shots, heads indoors or to shady areas, or scouts locations that will look great come twilight.
"Most people won't chase the best light or have the option of waiting for the exact optimal time," Blaine says. The good news is that the days are often so long in the summer that you will have plenty of time in the morning and late afternoon to take advantage of great light—if you want to make the effort.
"If you go out at sunrise, pretty much no one else will be there," Blaine says. "Evenings are different—people are out and about and even photographing at sunset. And the best time for shooting in the evening interferes with cocktails and dinner."
The practical solution is to check the weather report and designate the early and later hours of a clear, bright day or two to photography.
"But take you camera along no matter what your plans are," Blaine adds. "Photos can be made while you're walking to a restaurant, waiting for a table, standing at an outdoor bar or lounge, even relaxing on the beach. I know because I've done it."
So make photography part of what you're doing and make the most of the time you devote only to photography.
Something Special
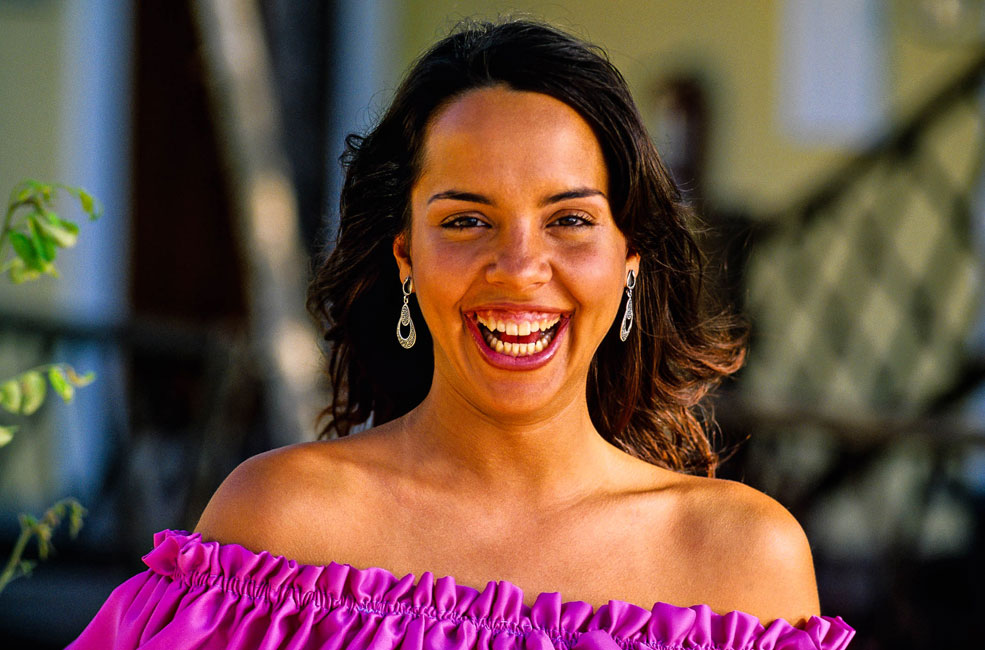
You're going to photograph your fellow travelers standing in front of monuments and landmarks, and maybe you'll position them to give a sense of scale to vista views. But once you've done that, move on to explore what it is about a place that captures your imagination. "That's why we come to these locations," Blaine says. "They're special—and we have to communicate that."
One thing Blaine likes to do is take to the water. "I'm partial to sunset cruises," he says. "There's the sunset—colorful, dramatic—but there's also the chance to look back at the beach, the shoreline, maybe the resort or the town." From the vantage point of the boat on the water, he captures views with a different perspective in light that's falling on the scene. "Views of the resort from the water will be a different way of showing where you were."
And boats move, so you'll get a variety of views. It's an excellent combination of photography and the enjoyable experience. Just remember: in a moving boat, in low light, you'll need fast shutter speeds, so boost the ISO setting.
Keep 'em Safe
As a pro, Blaine's got to deliver the goods. His gear has got to be protected, and so do his images.
His cameras, lenses, SB-900 Speedlights, eight-gig CF cards, 16- and 32-gig SD cards, laptop and two external backup drives are in his carry-on luggage and stay always in sight. The tripod, battery chargers, power converters and cables go in checked baggage.
At the end of each day Blaine follows a well-practiced backup and maintenance routine: recharge batteries; use the laptop to transfer images to backup drives; erase the memory cards for tomorrow's shoot. That routine take a bit of time, but he's come a long way to get photographs that are very important to him.
Same for you, right?
Quick Tips for Travel Shots
-
Your best traveling companion is a wide-angle to tele-zoom lens.
-
Plan for golden hour shooting (just after sunrise, shortly before sunset).
-
Carry your camera no matter what you'll be doing.
-
Use a circular polarizing filter to cut glare and reflections.
-
Take to the water for reverse-angle views that will add variety to your images.