Shooting Long Exposures:
Slow down your shutter speed for creative, expressive images
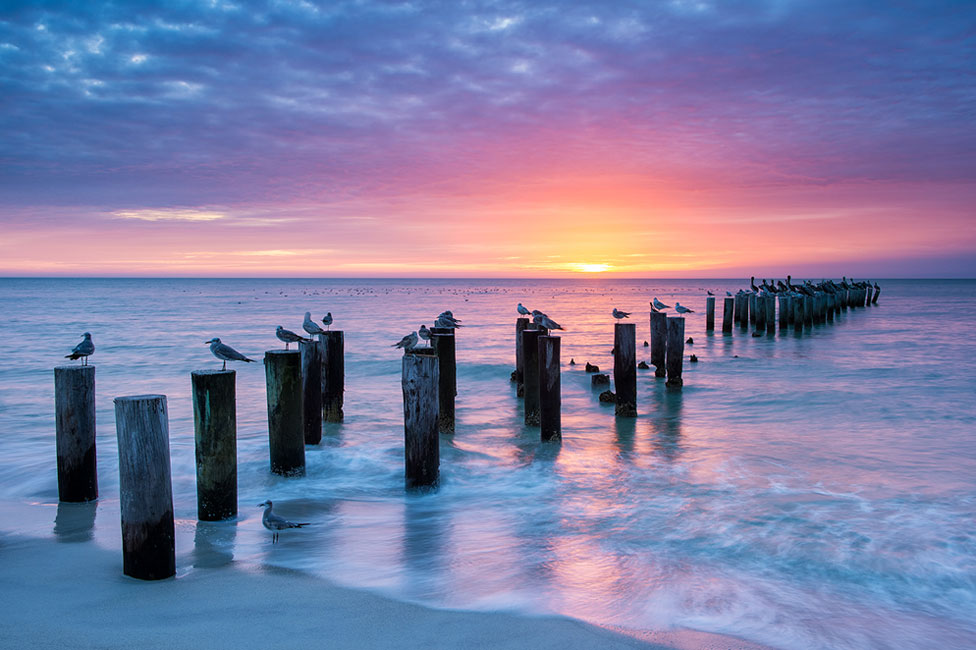
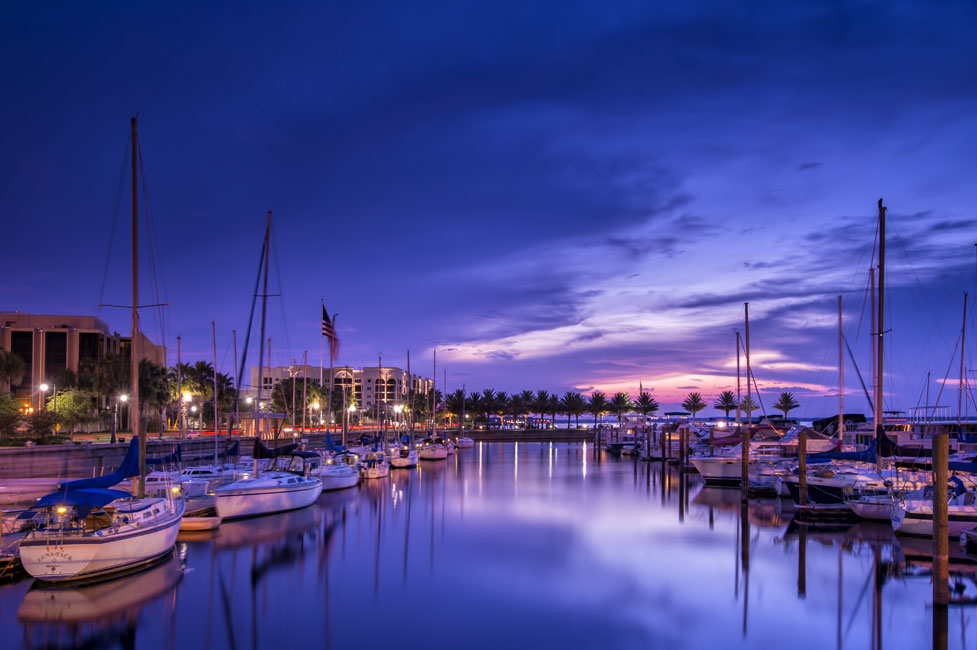
Old Naples Pier, Naples, FL. - "I wanted to slow the water down a bit to see the effect on colors and the reflection of the light," Deb says. "A solid ND filter limits me to the density of the filter, but a variable ND filter offers a lot of ways to experiment. Here the wave action changed shot to shot, so I did a lot of experimenting." D4, AF-S NIKKOR 24-70mm f/2.8G ED, 0.8 seconds, f/16, ISO 100, manual exposure, Matrix metering, Tiffen variable ND filter.
We're guessing that when it comes to shutter speed, you favor the fast. In fact, it seems that most often we’re out to freeze the action, stop the motion and catch the moment, and to do that we're setting shutter speeds in the 1/500-, 1/1000- and 1/2000-second range. But there's another side to the exposure coin. Call it the "not so fast" side; or, more accurately, the "way slow" side.
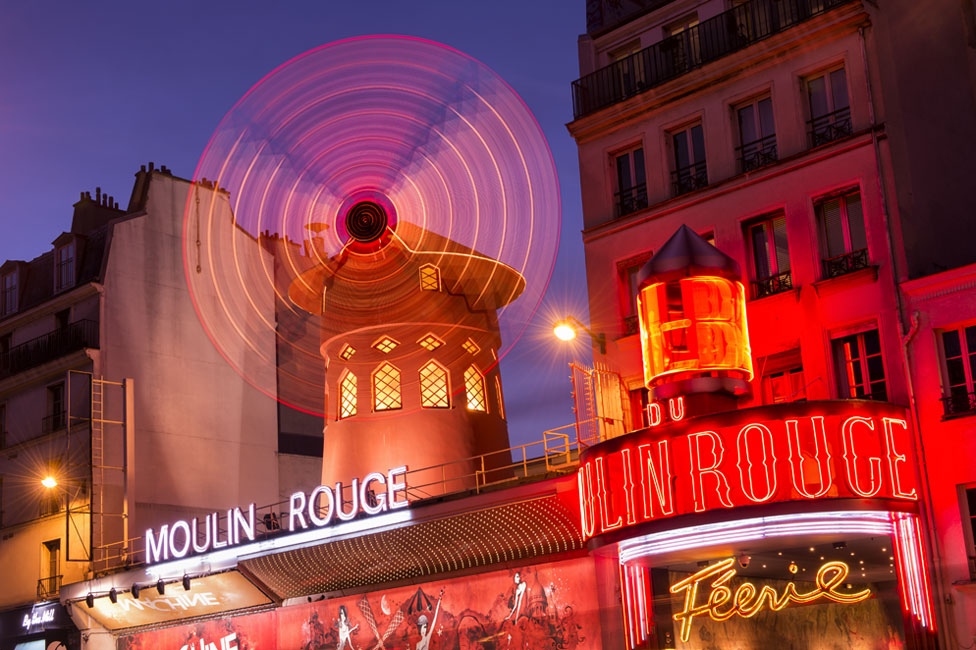
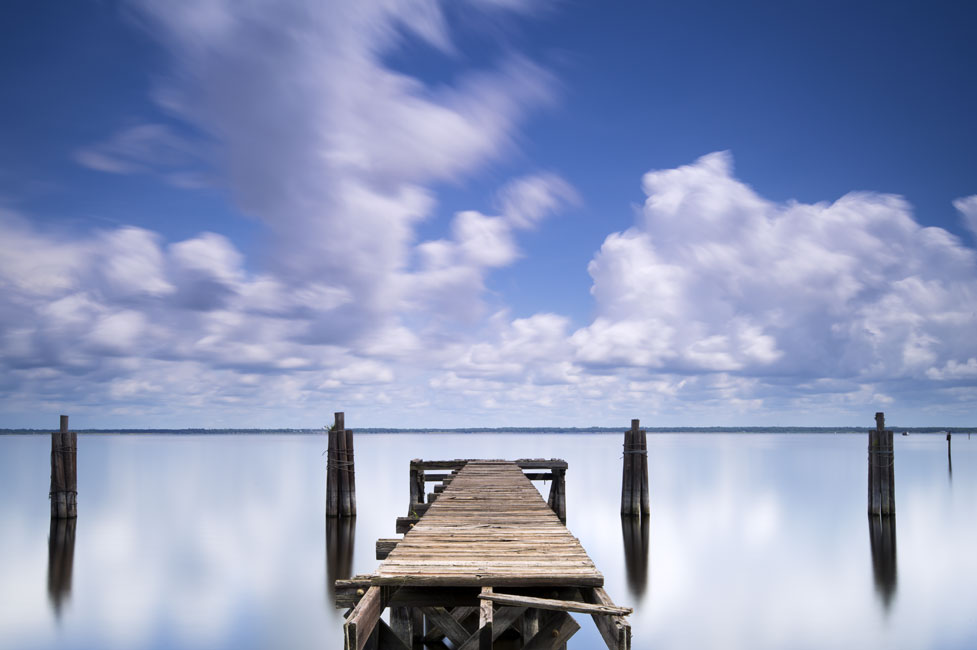
Slow down your shutter speed—really slow it down—and you'll be able to capture nothing less than the cumulative effect of time passing. You'll see the result of clouds moving across the sky; the smooth silk of supposedly still water; and, most commonly, the visible streaks of headlights and taillights of cars moving along highways and through city streets.
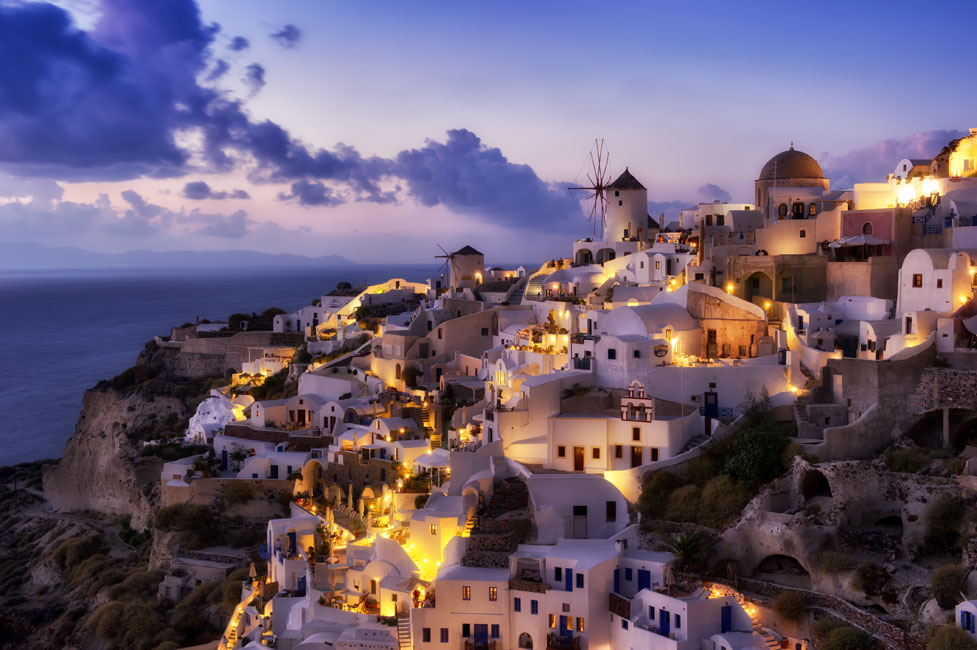
The big attraction of long exposures for photographer Deborah Sandidge is the creation of expressive, often surreal images that stand far apart from the usual. "Long exposures are particularly effective for travel photography," Deb says, "because most people tend to take the same types of images on their travels. But with long exposures, you're going to get a very different look."
Long exposure photography is a contemplative enterprise suited to rather specific subjects, and it requires specific gear and techniques.
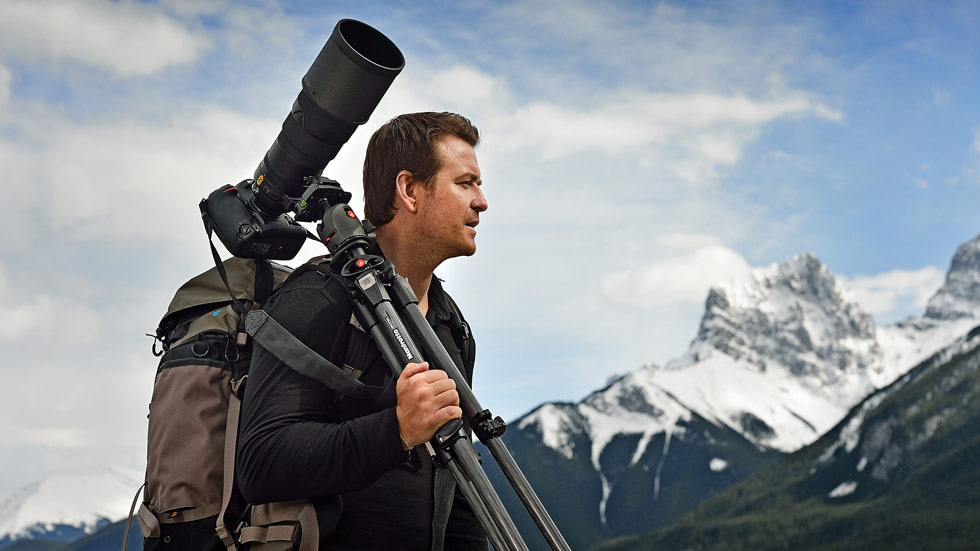
The first requirement is a tripod. Yes, we know, a tripod when you travel sounds like a literal and figurative drag, but it's absolutely essential. Deb's choice for all the photos here is a lightweight model (just under two and one-half pounds) that folds down to 18.9-inches in length. Next you'll need neutral density (ND) filters. As you might expect, a lot of light is going to reach your camera's sensor during extended exposures, some of which may be a minute or more in length, and the results will be overexposed, blown-out images. Even f/stops of f/22 and f/32 won't cut down enough light—but neutral density (ND) filters will.
There are three types of ND filters available: fixed, which are rated in stops of density; variable ND, which are filters that rotate to increase or decrease the amount of density; and graduated ND filters (also called split neutral density filters), in which the amount of density varies over half the filter, with the other half clear. Deb carries all three types, and sometimes will mix and match depending on the scene and how she wants to express it. "The advantage of the variable neutral density filter," she says, "is that I can dial in a little to a lot of density with one filter and not have to fit several on the lens. And if I'm not sure how much density I'll need, the variable ND filter is a convenient way to experiment, especially in a situation where the light is changing or ocean waves are rolling in."
Long exposures are particularly effective for travel photography because most people tend to take the same types of images on their travels. But with long exposures, you're going to get a very different look.
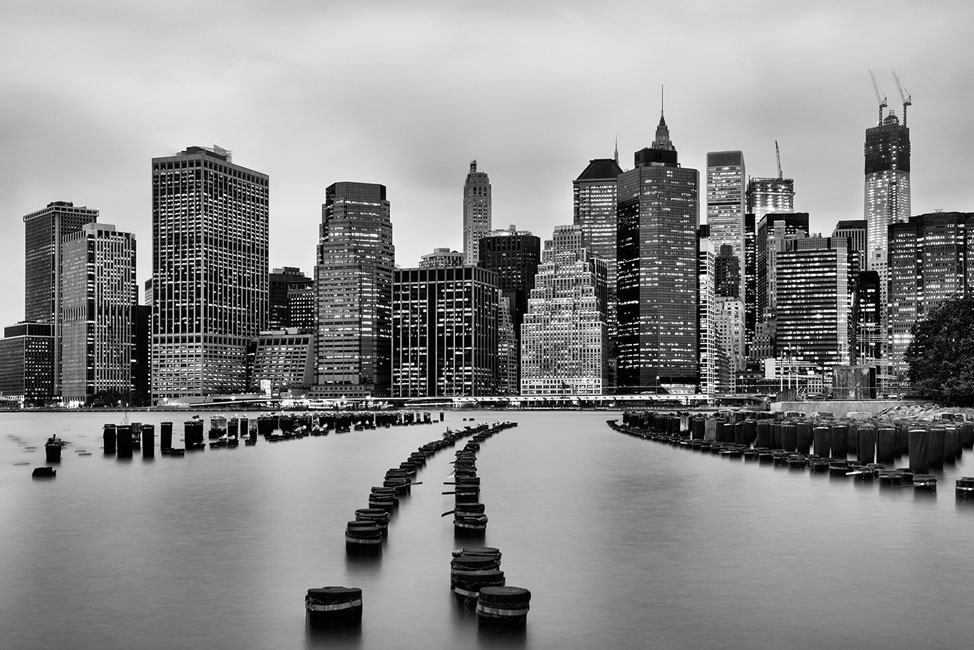
Socorro, NM. - D3, AF-S NIKKOR 14-24mm f/2.8G ED, three-exposure HDR image, 1.6, 6 and 25 seconds, f/16, ISO 200, manual exposure, Matrix metering.
To properly use fixed ND filters, you must first decide the amount of neutral density you want to use. Fixed filters are rated according to the amount of light they block: an ND2 filter will block one stop of light; an ND4, two stops; an ND8, three stops; and so on. ND filters can also be stacked, so you can combine neutral density strength. Knowing which ND filter to use in a specific situation comes basically from experimentation and experience; in other words, trial and error. Deb found that it took only a short time experimenting before she was able to size up a situation as an ND4 or ND10 scene.
Next, figure out the length of the exposure—and that's pretty easy. "I use an iPhone app called ND Timer," Deb says. "The first thing I do is get a reading for an accurate exposure of the scene by setting a chosen aperture—which is usually f/11, f/16 or f/22 because I almost always want great depth of field. I'll let the shutter speed go to whatever speed will give me the proper exposure for that f/stop." Then she enters the shutter speed and the strength of the ND filter or filters she's chosen for the shot, based on her experience, into the app. If she stacks her filters, using, say, an ND10 and an ND4, she'll enter 14, the combined total of neutral density. "The app will then calculate the length of the exposure in seconds, count down the exposure and chime to let me know the time's up."
ND filters aren't usually necessary for photos taken at sunset or twilight. "I like to do a lot of shooting at the edge of night," Deb says, "and then the exposure is going to be naturally longer because there's less light in the scene." However, she might use a graduated neutral density filter to hold back the light from the sky in a twilight image if she feels there'd be too much illumination.
She finds that most often she uses the ND Timer to give her a general idea of the length of the exposure. Trial-and-error experience has taught her to add a little more time to the app's estimate.
The penultimate piece of essential gear is a cable release to both trip the shutter and lock it open for the length of the exposure. Deb uses the Nikon MC-30 Remote Trigger Release.
Finally, depending on which Nikon D-SLR you're using, be sure to either slip on the camera's viewfinder cap or use the built-in viewfinder curtain. During long exposures you don't want stray light getting into the camera via the back door. It can cause streaks in the image, even a color shift. For exposures of 30 seconds or less, when an ND filter doesn't come into play, Deb will choose the aperture and rely on the camera's shutter speed setting, or she'll ballpark the exposure time based on experience.
She adds two last bits of advice: "Before you shoot long exposure images on an important trip, experiment with them. Get to know what things will look like; form some preferences and judgments. Remember, the important thing is you're shooting for creative expression. What do you want the scene to look like?"
Ultimately there are few wrong choices. You'll learn from every image and every experiment, and when you get a result you didn't envision or expect, the steps that led to that result can become part of your technique.
"Every time is different," Deb says.